Manage study documents in SMS
Add documents to a study
- Go to the 'Studies' tab.
- Open the study.
- Go to the 'Documents' tab.
- Click on 'Upload document'.
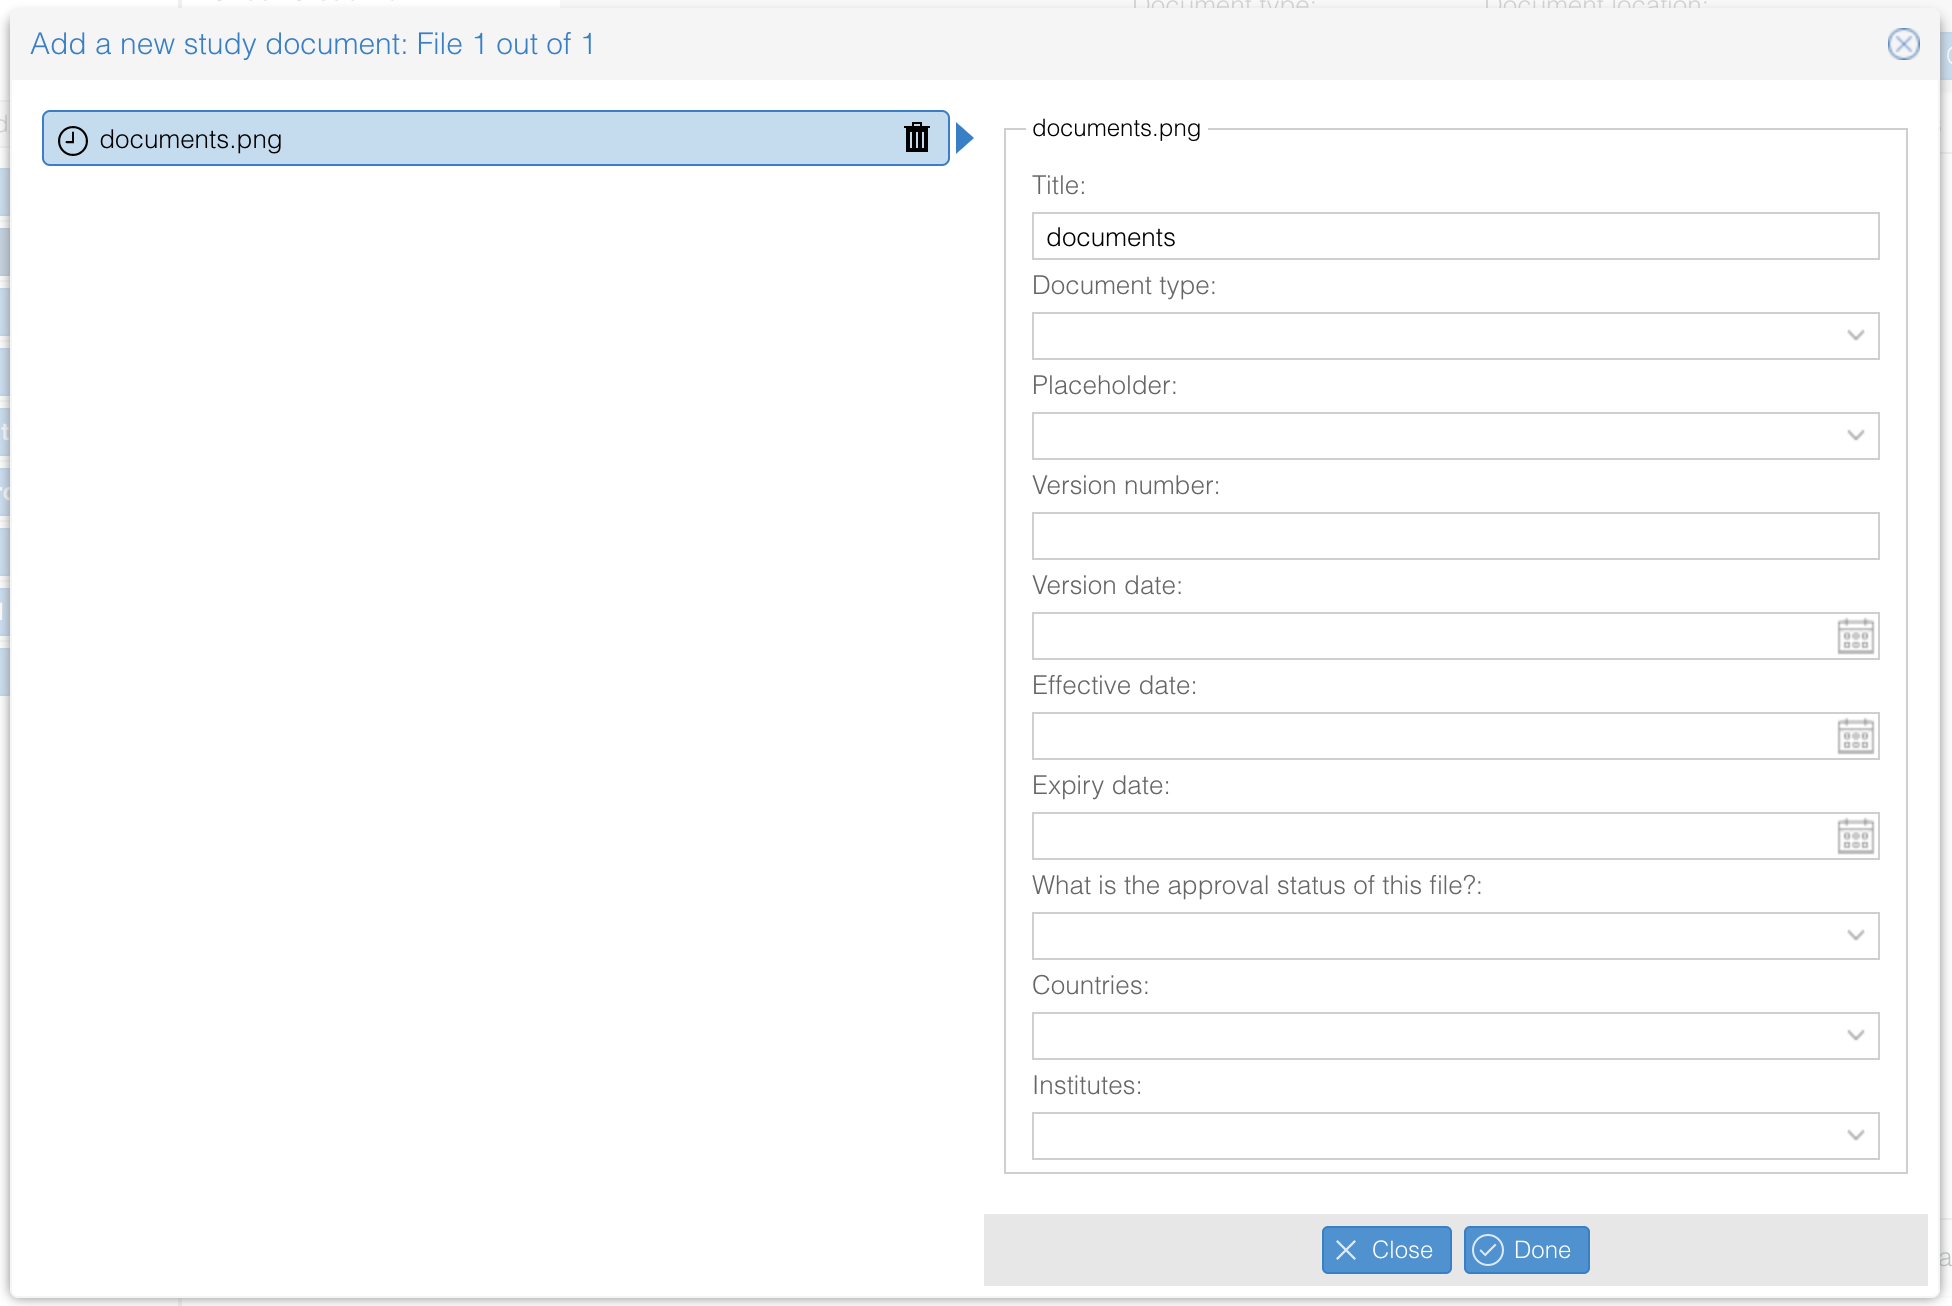
- Fill in the form.
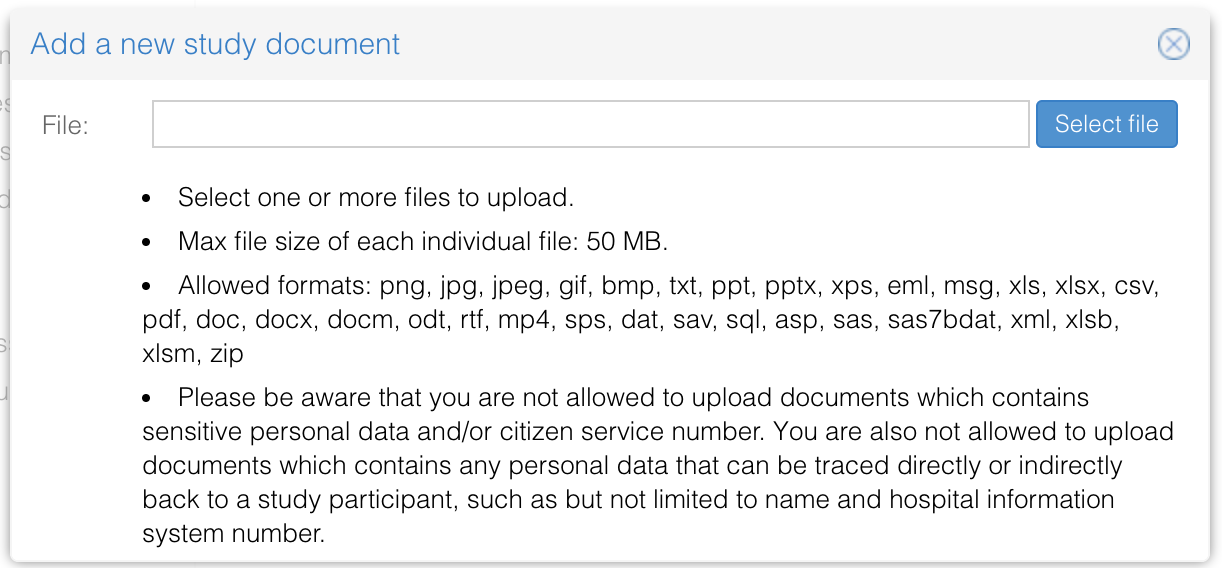
- Select one or multiple documents that you want to add to the study. Please note that only documents in the following formats can be uploaded: png, jpg, jpeg, gif, bmp, txt, ppt, pptx, xps, eml, msg, xls, xlsx, csv, pdf, doc, docx, docm, odt, rtf, mp4, sps, dat, sav, sql, asp, sas, sas7bdat, xml, xlsb, xlsm, zip.
 Please be aware that you are not allowed to upload documents which contains sensitive personal data and/or citizen service number. You are also not allowed to upload documents which contains any personal data that can be traced directly or indirectly back to a study participant, such as but not limited to name and hospital information system number.
 - Fill in the required fields per study document. Use the 'Next' and 'Previous' buttons to navigate between the document.

- Select one or multiple documents that you want to add to the study. Please note that only documents in the following formats can be uploaded: png, jpg, jpeg, gif, bmp, txt, ppt, pptx, xps, eml, msg, xls, xlsx, csv, pdf, doc, docx, docm, odt, rtf, mp4, sps, dat, sav, sql, asp, sas, sas7bdat, xml, xlsb, xlsm, zip.
- Click 'Done' when all required details have been added.
The document(s) are now added to the study.
View, download, archive and delete documents
- Go to the 'Studies' tab.
- Open a study.
- Go to the 'Documents' tab.
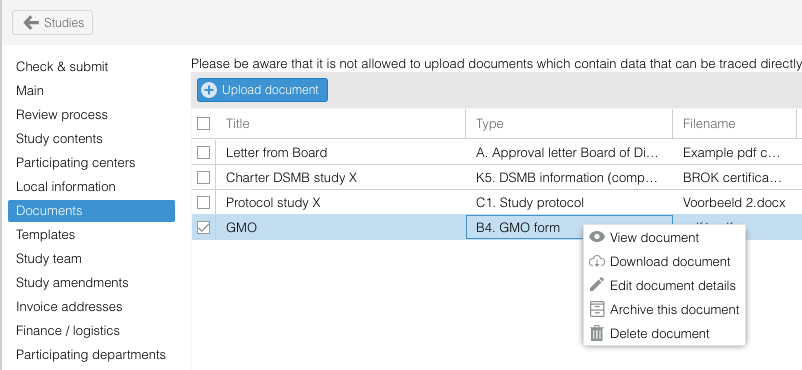
- Use the right mouse click or action icon to select the action.

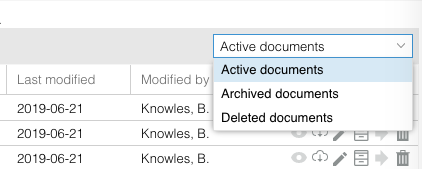
Archived and deleted documents are stored in the ‘Archived documents’ and ‘Deleted documents’ folders - these folders can be accessed in the dropdown at the top right of the Documents overview.

It is possible to restore archived and deleted documents, go to the applicable overview and click ‘Unarchive this document’. Once restored, the document will be returned to the ‘Active documents’ folder.
Only users with hard-deletion rights can permanently deleted documents - deleted documents are otherwise stored in the ‘Deleted documents’ folder. To permanently delete a document, it is required to enter a reason for deletion. This action and the provided reason will be logged in the audit trail.