Contact Us

If you still have questions or prefer to get help directly from an agent, please submit a request.
We’ll get back to you as soon as possible.

Please fill out the contact form below and we will reply as soon as possible.

  • Contact Us
  • Home
  • CDMS
  • Castor CDMS Manual
  • Automation Engine

Select an event for your automation

Contact Us

If you still have questions or prefer to get help directly from an agent, please submit a request.
We’ll get back to you as soon as possible.

Please fill out the contact form below and we will reply as soon as possible.

  • CDMS
    Castor CDMS Manual Castor CDMS Calculations Manual Frequently Asked Questions Articles for Data Managers Castor CDMS Compliance Release Documents
  • eConsent
    Castor eConsent Manual Castor eConsent Compliance Release Documents
  • SMS
    Castor SMS Manual Castor SMS Compliance Release Documents
  • Castor Connect
    Castor Connect Compliance Release Documents Castor Connect Manual Castor Connect - Participant Quick Start Guide
  • Helpdesk
    News Other Resources Castor products knowledge resources
  • Status page
  • Completing a Study
+ More

Table of Contents

Add an event Define your event

An event is a data entry point within your study that will be checked by the system against the conditions you specify and trigger a certain action when the two match. 
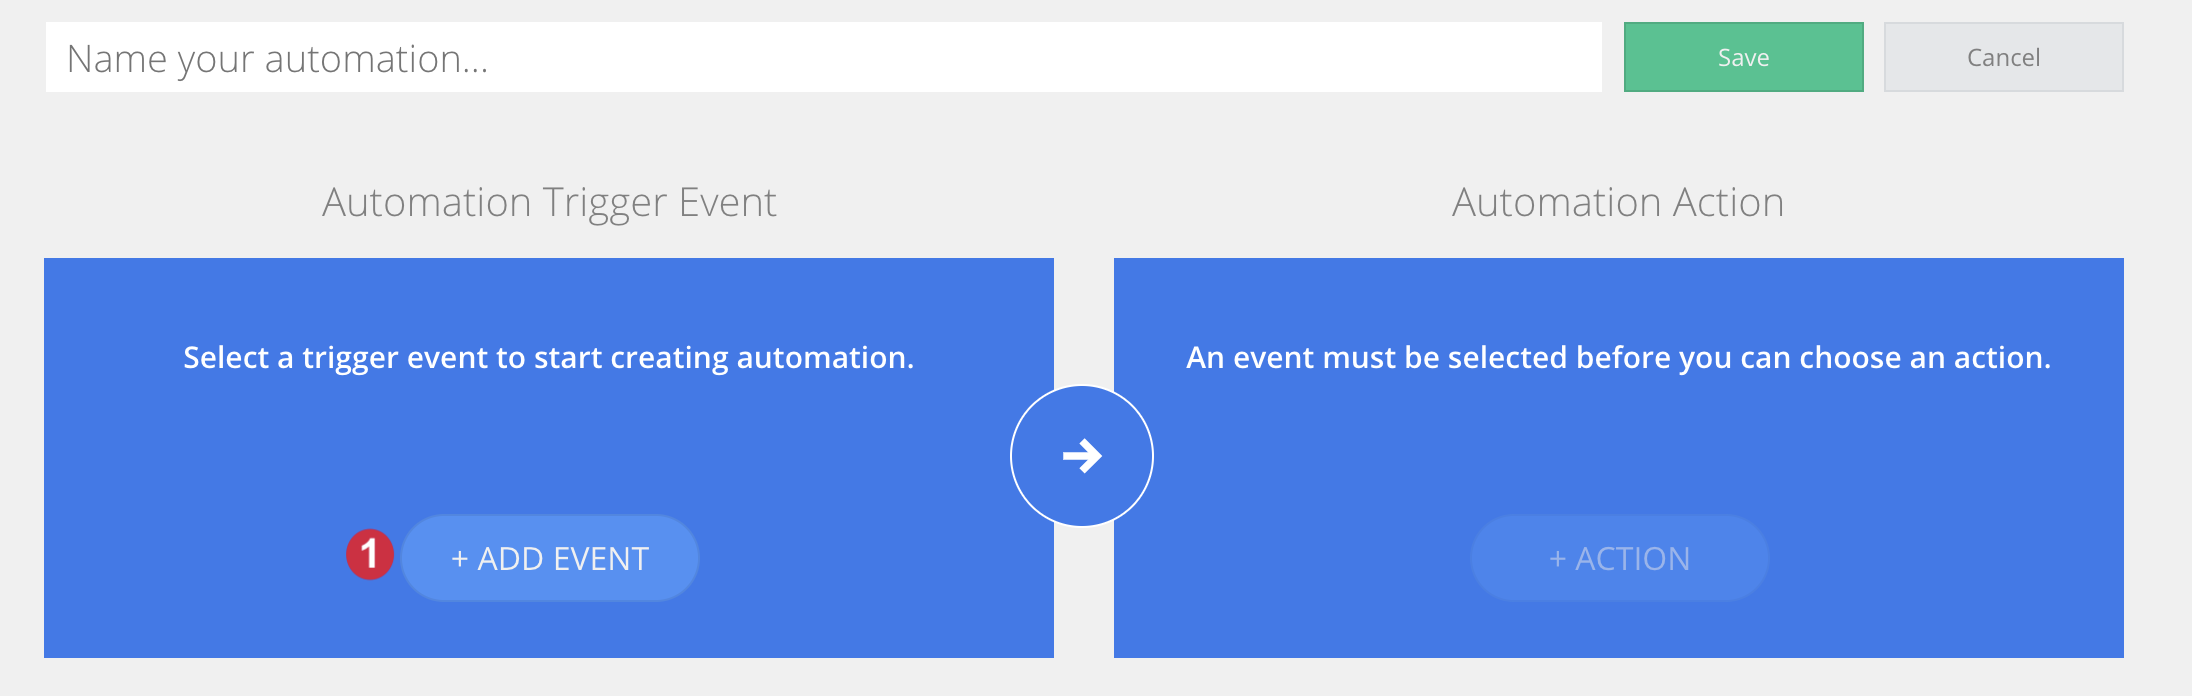
Add an event

After you navigate to the Automation Engine user interface, click on the "Event" button:

Define your event

An popup dialog will appear. This is where you can define your event:

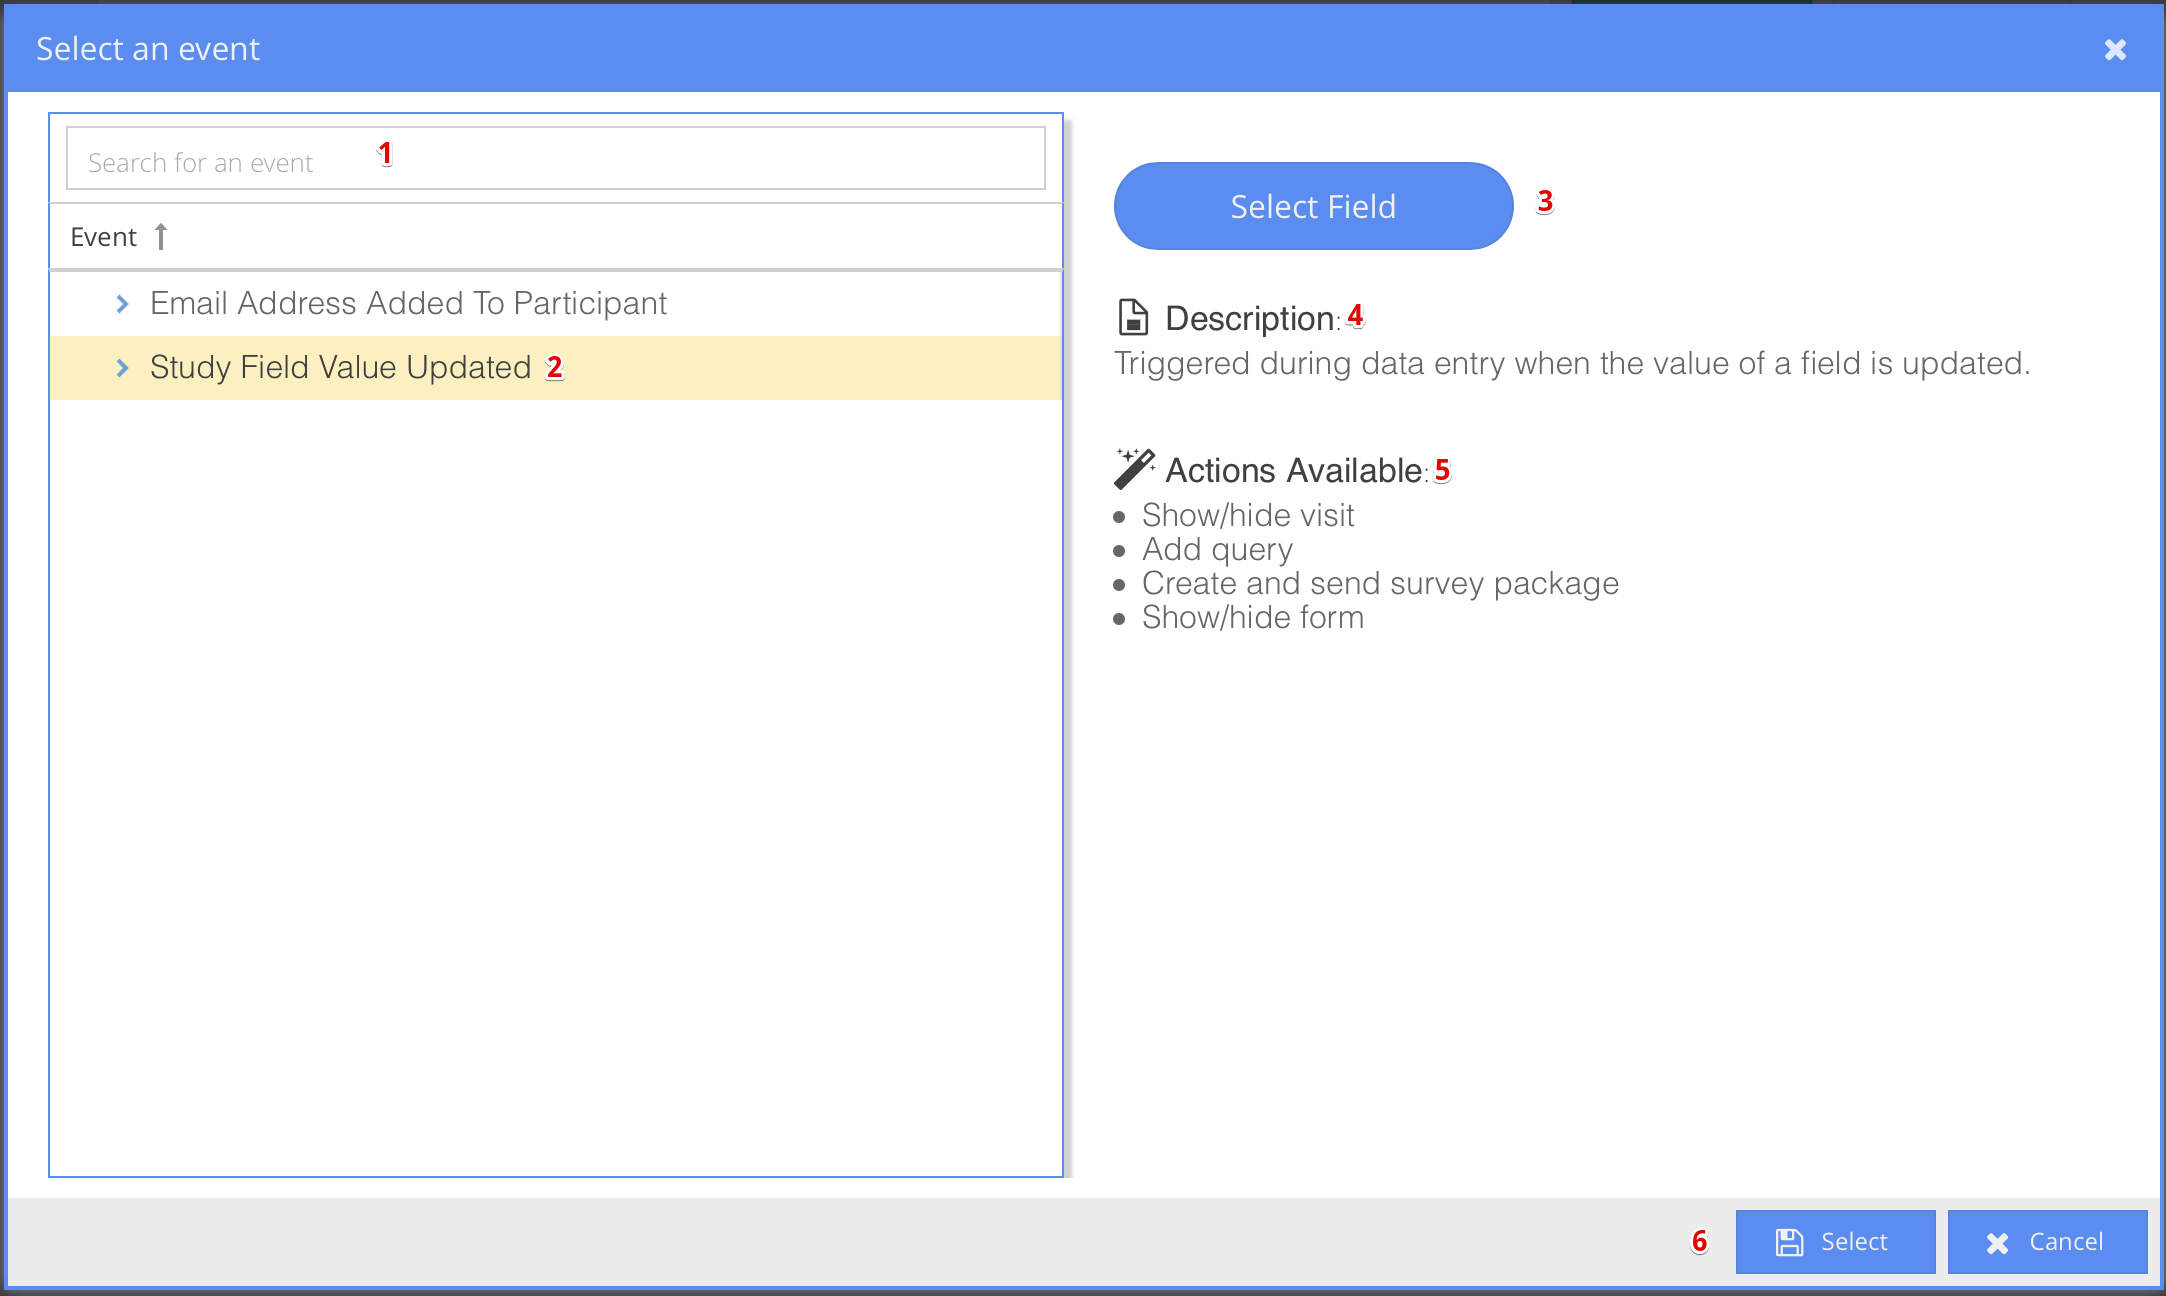
  1. Search for an event: As additional events will be supported by our system, you will be able to search for your desired trigger event using the search box at the top left side of the popup dialog.
  2. Event: A list of all currently supported events appears on the left side of the popup dialog. An event must be selected to continue with building your automation.
  3. Select Field: If you have chosen Field Value Updated as event, click on Select Field to select the field that you want your automation to check before triggering an action. If you have chosen Email Address Added to Participant as event, you can skip this step.
  4. Description: A description of the event appears at the top of the right side of the popup dialog. 
  5. Actions available: A list of all of Actions Available for the event are shown below the event description. You will need to select an action in the following step - selecting your Action.
  6. Save/Cancel: Press Save to save your event or Cancel to return to the Automation Engine without saving your event. 

Now that you have selected an event, you can go ahead and add conditions and actions to complete your automation so you can get to testing your automation.

activity choose

Was this article helpful?

Yes
No
Give feedback about this article

Related Articles

  • Create automations with the Automation Engine
  • Introduction to the Automation Engine
  • Automatically schedule and send out several different surveys
  • Automatically add queries
ISO 27001
FDA - 21 CFR part 11
ICH GCP compliant
HIPAA compliant
CDISC
ISO 9001
gdpr compliant

Products & Industries

  • Electronic Data Capture (EDC)
  • ePRO
  • eConsent
  • Decentralized Clinical Trials (DCT)
  • Clinical Data Management
  • Medical Device & Diagnostics
  • Biotech & Pharma
  • CROs
  • Academic Research

Resources

  • Thought Leadership
  • Blog
  • Castor Academy
  • Knowledge Base


Company

  • About Us
  • Careers
  • News
  • Contact Support
  • Contact Us

Legal & Compliance

  • Terms of Use
  • Privacy & Cookie Statement
  • Responsible Disclosure Policy
  • Good Clinical Practice (GCP)
  • ISO Compliance Certificates
  • GDPR & HIPAA Compliance
  • Security Statement

© 2022, Castor. All Rights Reserved.

Follow us on social media


Knowledge Base Software powered by Helpjuice

Definition by Author

0
0
Expand