Doing data entry in CDMS
Table of Contents
Participants are required for data entry in Castor. If you have not yet created any participants, you must complete this action first. This article explains how to create a new participant in Castor.
| You can also learn more about data entry within Castor Academy. Click here to view the Castor Academy ‘Data entry in Castor EDC-CDMS - Certification (v01.2025)" course. |
Entering the study:
When the study admin has invited you to the study and you have created an account you are able to log in to Castor. Once logged in you will see the following screen:

If the study is live, you can access the study and start gathering data by clicking on the study in the overview.
Opening a participant:
Every participant in Castor represents a patient, with its own participant ID that encompasses all information collected about the patient. A participant can also represent:
- A sample (e.g., in a biobank).
- Multiple patients (e.g., parent-child relationships).
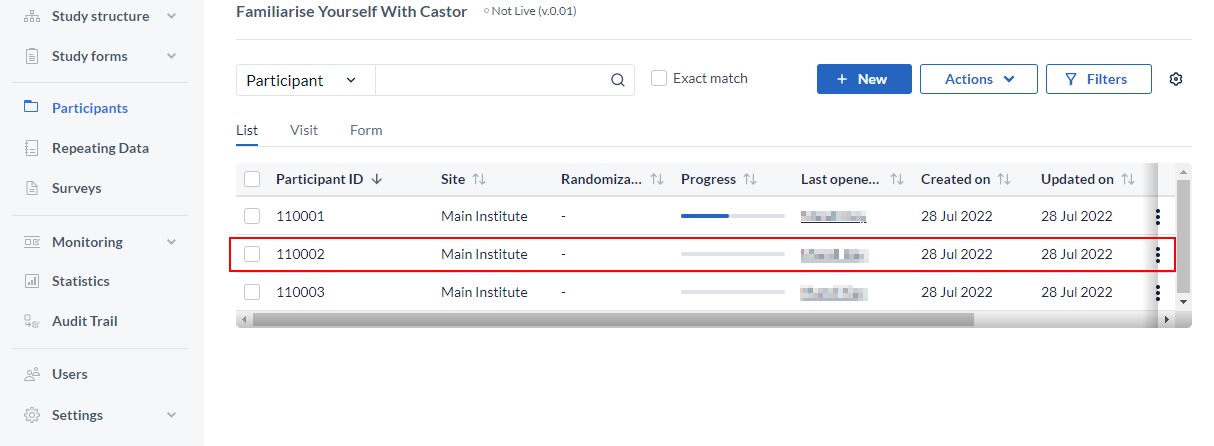
To open a participant, click on the participant line.
Creating a participant:
If a participant does not yet exist for the patient for whom you will enter data, you need to create a new participant. To do so, click the '+ New' button.
Data input (version from 2024.2)
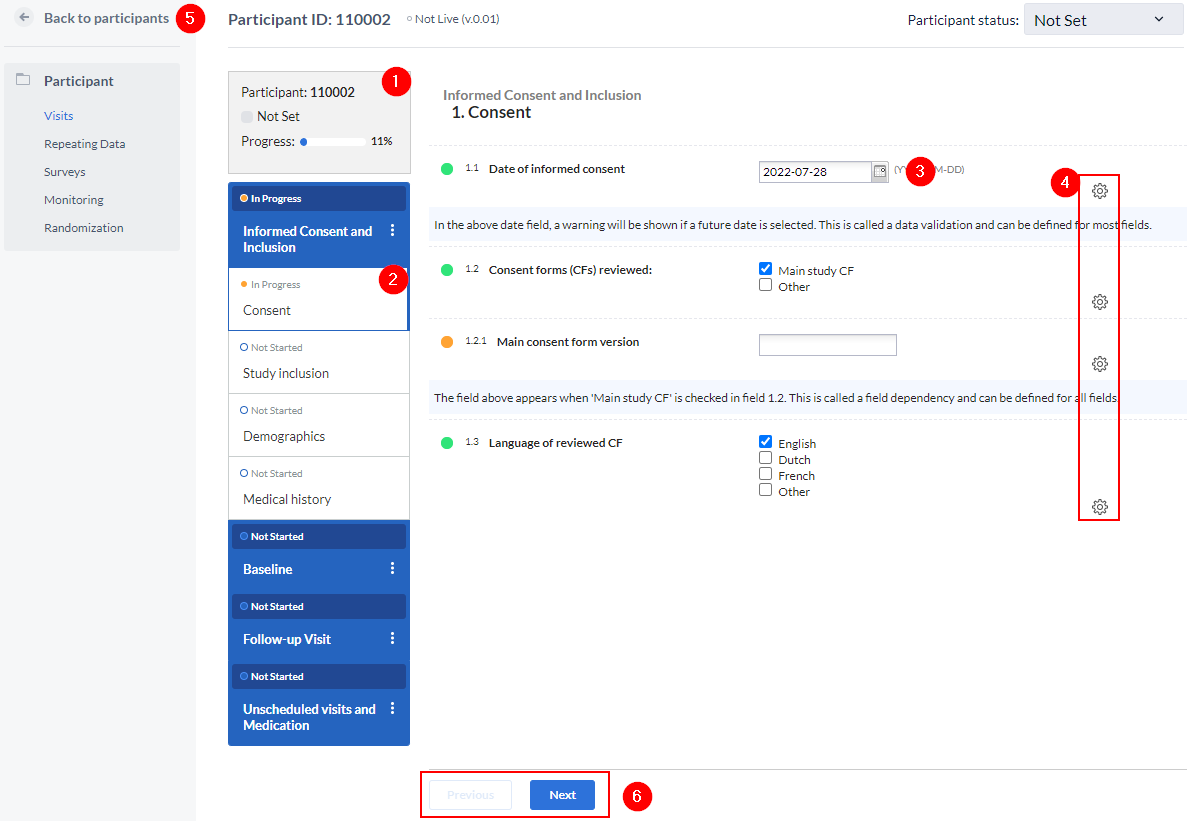
When you open a participant, the data entry view is displayed:

This is the main data entry view and consists of the following elements:
- Participant Information:
- Participant ID, completeness status, site, and randomization status.
- Survey compliance information is also displayed here when available.
- Visits and Forms:
- Navigate through the eCRF and view individual progress for visits and forms.
- Visits and forms can have three stages of completion:
- Not Started: White circular progress indicator.
- In Progress: Blue filled circular progress indicator.
- Completed: Green checkmark indicator.
- Forms and visits are marked as completed when all required fields are filled. Visit completion is shown as a green progress bar with 100% completion.
- Fields which are added to the form - this example shows a year field. Icons next to fields provide tooltips (Completed, Required) for quick guidance and indicate the field status.
- Field Options:
- Perform actions specific to individual fields and based on your user permissions, such as clear fields, add comments, create queries.
- Navigation Buttons:
- Use the "Next" and "Previous" buttons to move through participant forms.
- The "Participant Panel" allows navigation between:
- Surveys, Repeating Data, Visits, and Monitoring sections.
- Returning to Participants:
- The "Back to Participants" button returns you to the participant overview list.
Data input
When you open a participant, the data entry view is displayed:
This is the main data entry view. It consists of the following elements:
- Participant number, status, and participant completeness. Randomization information will also be displayed here when available.
- Visits and forms. Here you can navigate through the eCRF and see the individual progress per visit and forms. Visits and forms can have three different stages of completion:
- Not Started (white).
- In Progress (orange).
-
Completed (green).
When every required field for a form has been completed, the form icon will show as a green dot.
When every step inside a visit has been completed, the visit will be marked as completed with a green dot visible.
- The fields added to the form - this example shows a date field.
- Field options, here you can perform various actions that apply to only the field on this row, e.g. 'Undo' or 'Set field as missing', add comments or create queries.
- This button returns you to the participant overview list.
- You can use the Next/Previous buttons to navigate through the forms of the participant.
Note: See here how you can perform data entry for encrypted fields.
Entering partial dates
Users are able to enter partial dates as a missing day or a missing day and month, you have a total of three options to choose from in the dropdown menu depending on the study setup.
Please see the below screenshot:
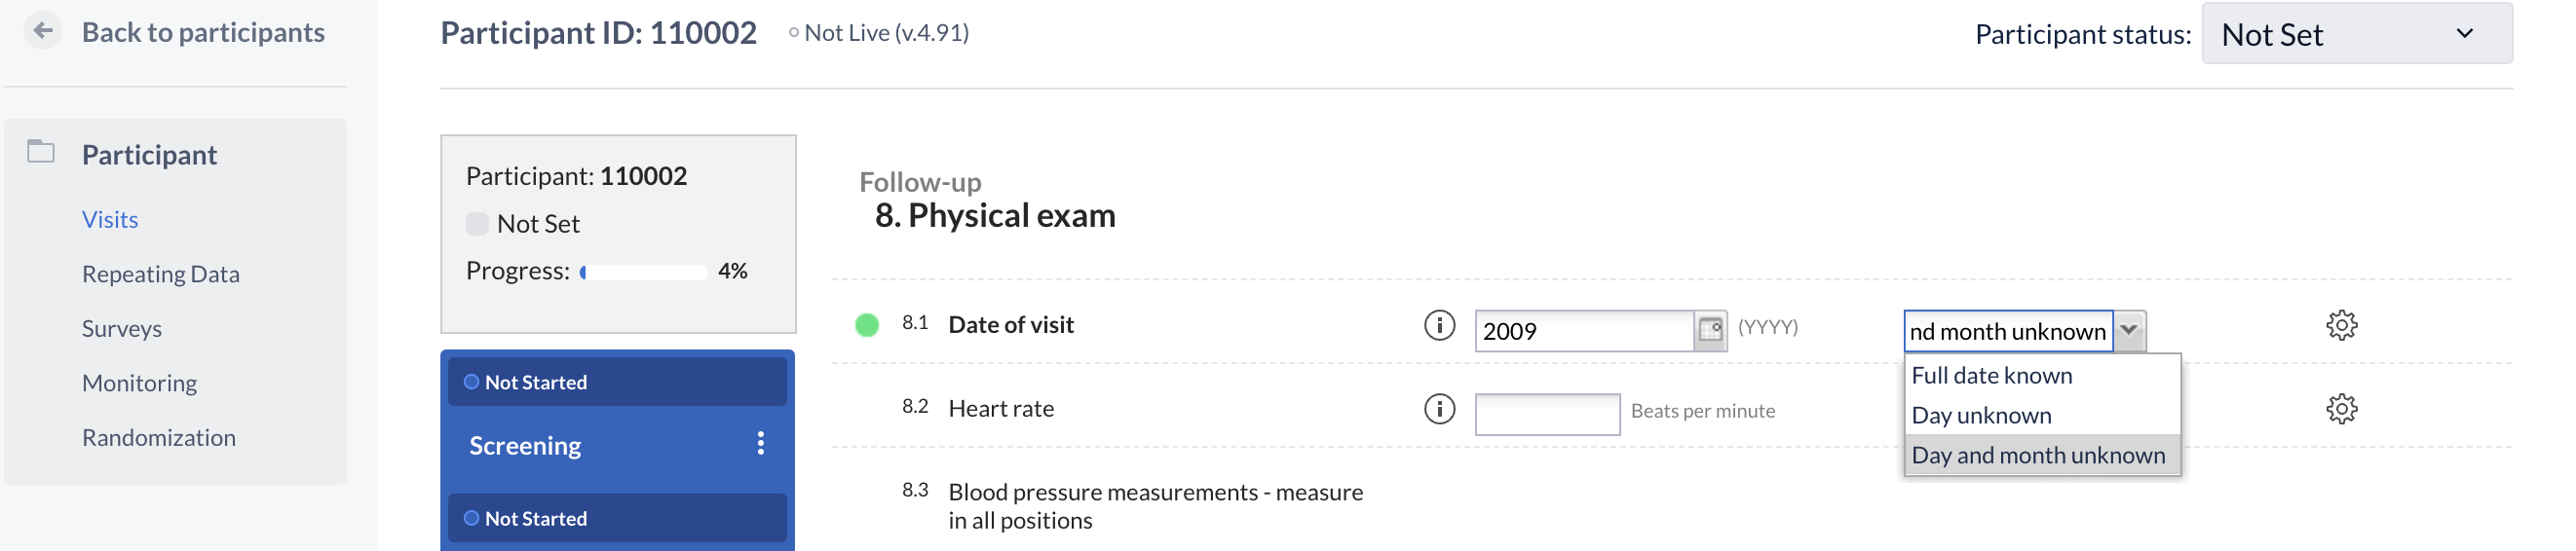
Modern data entry interface (from 2024.2 version):

When entering a partial date, you would enter the known information. For example, if you selected ‘Day and month not known’, you would need to enter the year in the field.
Field status icons (from version 2024.2)
- The status icons indicate the status for a field. The status are as follows:
- Green checkmark: The value is valid and the field is saved.
- Red asterisk: The field is required and no value has been entered yet.
- Red cross: The value is invalid and the field has not been saved.
- No icon: The field is not required.

If a field is encrypted, the value will display as a placeholder or appear as ‘encrypted’ for unauthorized users.
- If an information text has been entered for a field, it can be displayed by clicking on the (i) icon.
- When the value for a field matches the value set for a validation message (e.g., a warning, exclusion, or error), this will be displayed in a colored banner below the field.

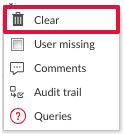
- To clear the value from a field, click the context menu (three dots) to the right of the value. The following menu will be displayed:

Clearing field value
To clear the value from a field, click the context menu (three dots) to the right of the value. The following menu will be displayed:
- Clear: Removes the field value.
- If "Clear inapplicable child fields" is enabled in the 'Settings' tab, all dependent child fields are cleared.
- For example: When changing the gender from female to male, all pregnancy-related fields are cleared.
- Validation Re-Evaluation (from 2024.4): The system automatically re-evaluates validations for dependent fields when clearing parent fields.
- Clearing a field and associated actions, like clearing dependent fields or triggering validations, are logged in the audit trail. This ensures a full history of changes is available for review.
- Fields that are encrypted can only be cleared by users with the required permissions. Unauthorized users will see placeholder values instead of the actual data.
- The system will always ask for confirmation before clearing data.
Field status icons
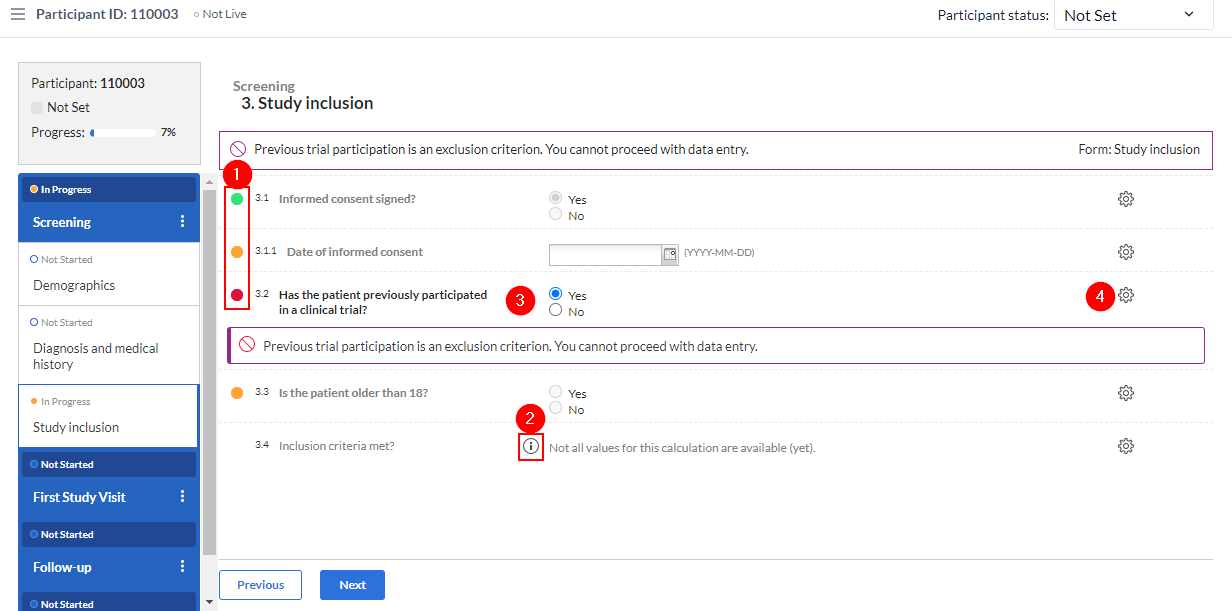
- The status icons indicate the status for a field. The status are as follows:
- Green: The value is valid and the field is saved.
- Orange: The field is required and no value has been entered yet.
- Red: The value is invalid and the field has not been saved.
- No icon: The field is not required.
- If an information text has been entered for a field, it can be displayed by clicking on the (i) icon.
- When the value for a field matches the value set for a validation message, e.g. a warning, an exclusion or an error, this will be displayed in a coloured banner below the field.
- To clear the value from a field, click the cogwheel to the right of the value. The following menu will be displayed:
To clear the value for a field choose 'Clear'. If you have enabled automatic clearing of dependent child fields in the 'Settings' tab, all inapplicable child fields are cleared. For example: when changing the gender from female to male, all pregnancy fields are cleared. The system will always ask for confirmation before existing data is cleared.
For more information about the field options, refer to the helpdesk articles on adding comments to a field, the audit trail and adding queries to a field.