Create, edit and delete a survey in CDMS
Table of Contents
In this article, you'll learn how to create a survey. Surveys provide a way to send respondents, clients or patients, a questionnaire that will be linked to a Castor participant. This enables you to add additional patient reported outcomes (PRO) to the outcomes you have defined for your own data entry.
Surveys are sent as part of a survey package and consist of one or multiple forms. Creating a survey is similar to building and adding the visits/forms of your CRF.
When you first open a new study and click on the Surveys tab, there will be no surveys. You will need to create a survey.
Structure editor
To create a survey, we start by creating a survey structure in the Study structure tab, Surveys sub-tab:
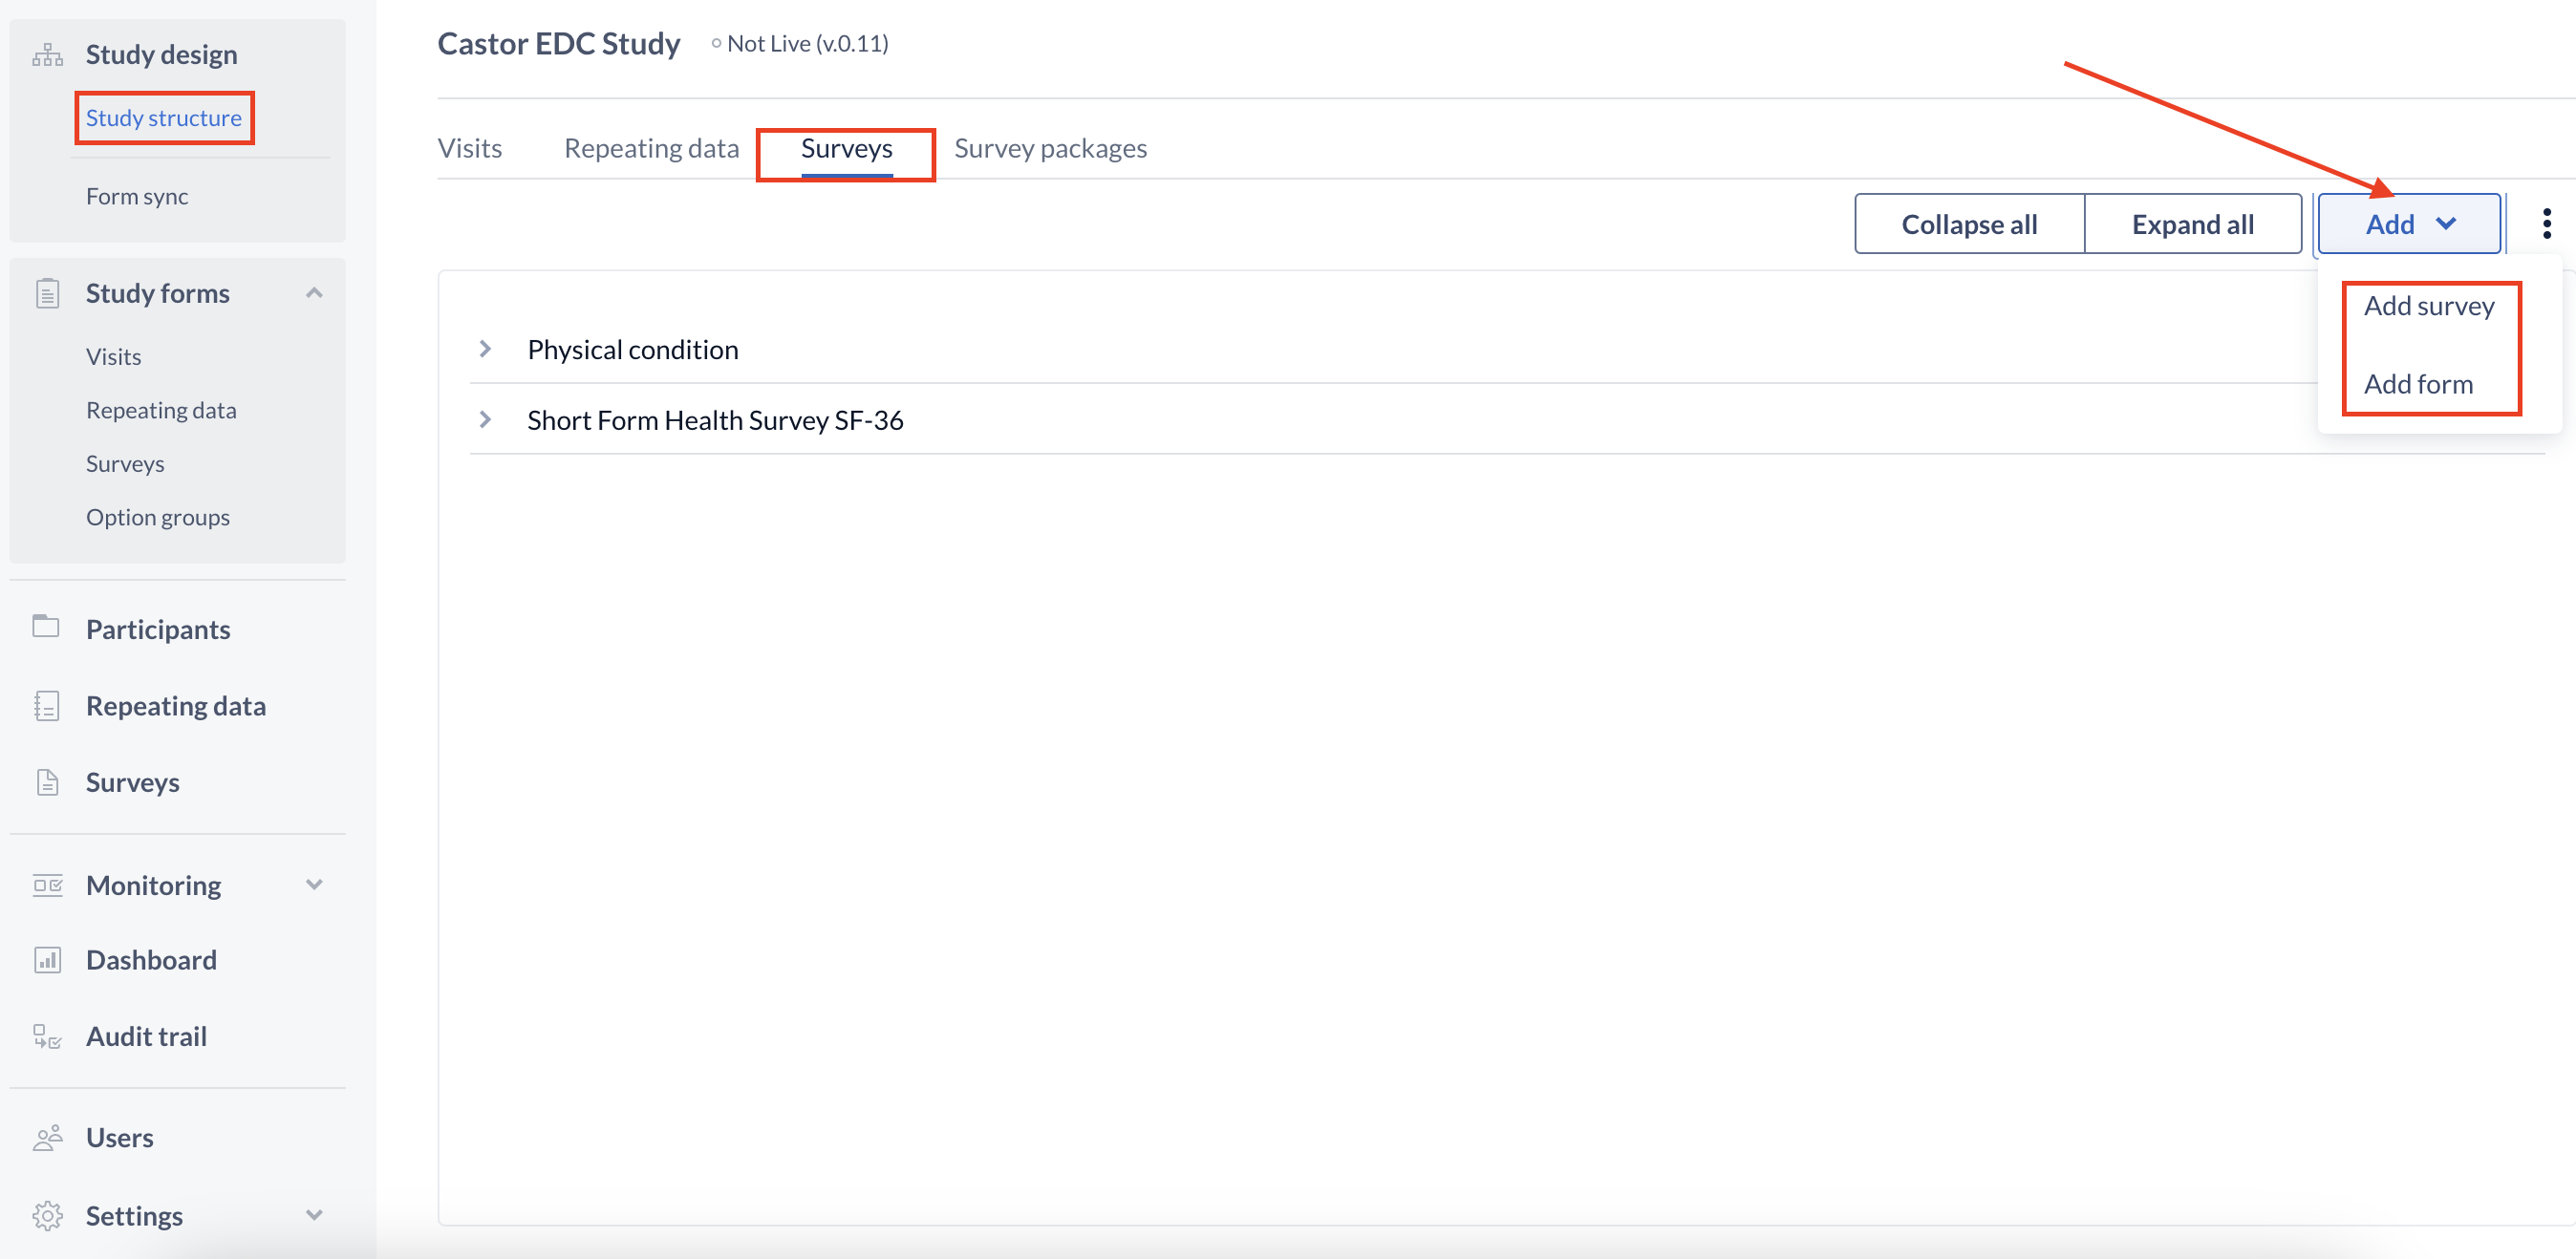
- Use the 'Add' button to add a new survey. This is similar to creating a Visit.
- All created surveys will be listed in the left 'Surveys' panel. You must select a survey from this list in order to add forms.
- Use the '+ Add' button (beside 'Forms') to add additional forms to your survey.
Add a survey
To create a new survey, click the '+ Add' button to open the 'Add a survey' dialog:
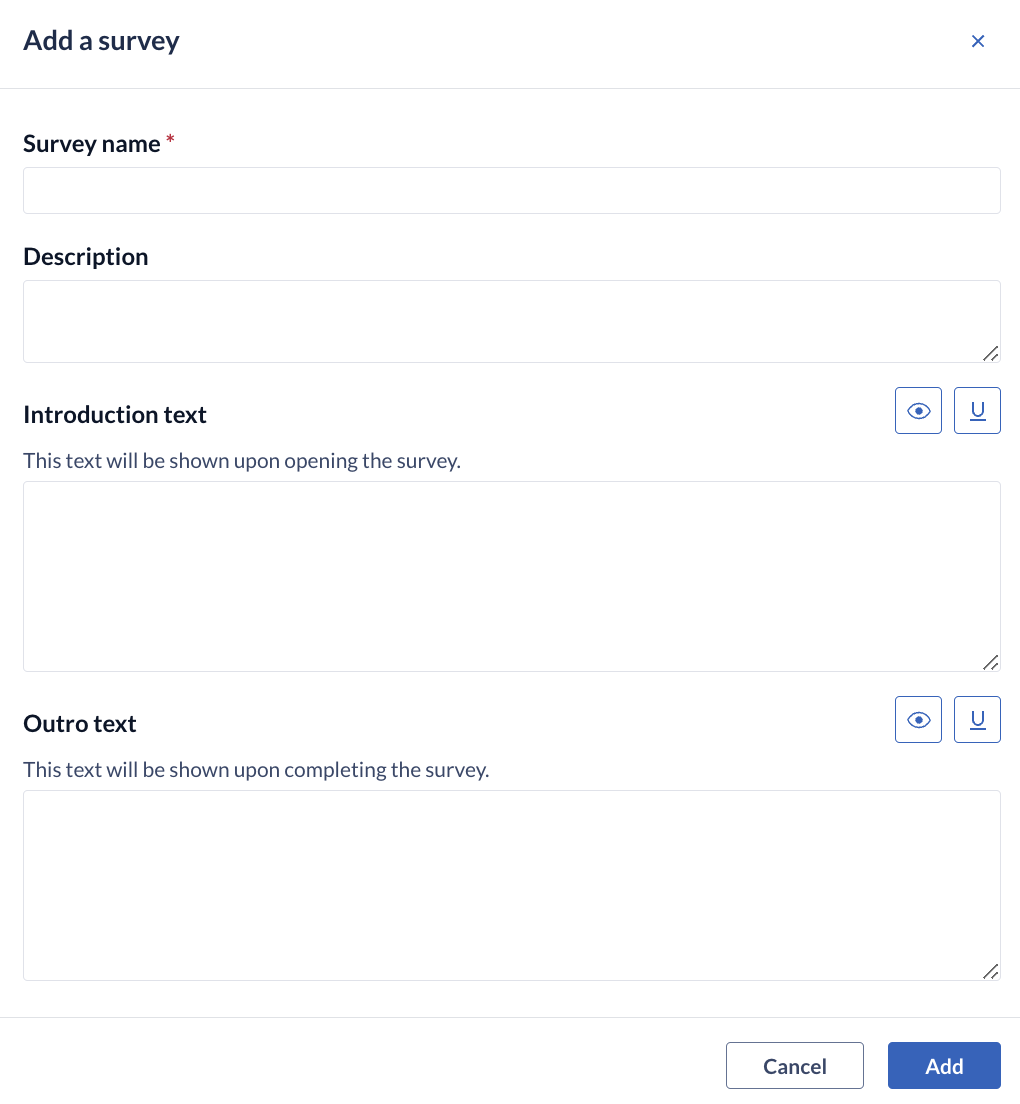
In this window, you can enter the name and description of your survey and set the introduction and outro texts:
- Survey name: the title of the survey which will be displayed in the left 'Surveys' panel.
- Description: the description of the survey to summarize the content of the survey or any other relevant information.
- Introduction text: this is the introduction text of this specific survey. This text will be displayed upon opening a survey, before the respondent proceeds to the actual questions.
- Outro text: this is the outro text of this specific survey. This text will be shown upon completing a survey.
- Save: click the 'Save' button to create the survey.
Survey structure
After the survey has been created, it will be added in the 'Surveys' panel. Here you can also switch between surveys if you created more than one survey. If you want to change the name of the survey or the text that you just added click 'Edit survey details':
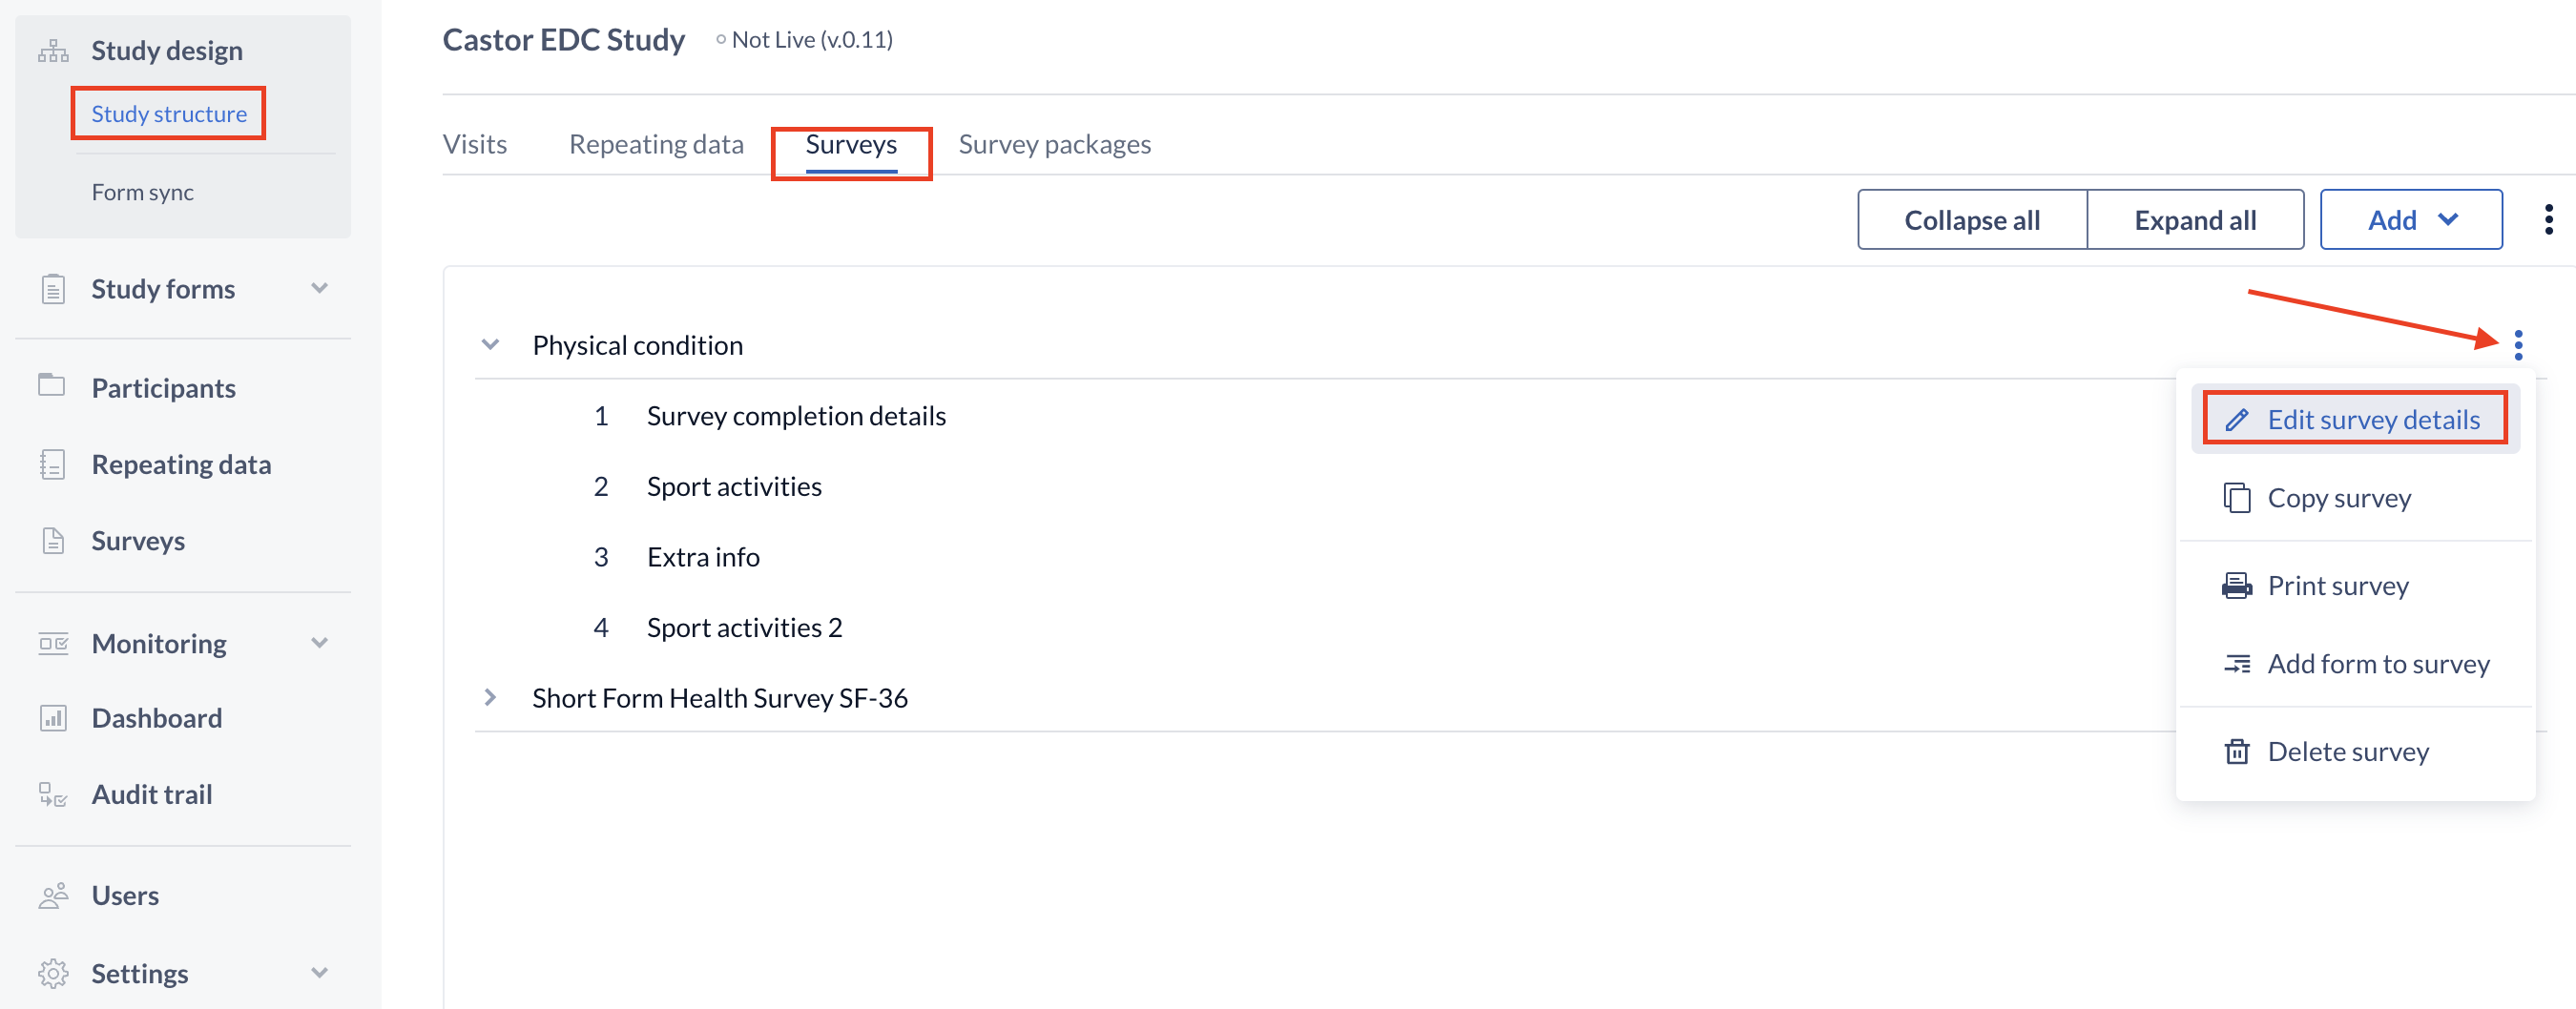
To continue building the survey, create the first form of the survey by pressing '+ Add' to create a new form in the survey.
Add a new form to the survey
To create a form, click 'Add form to survey':
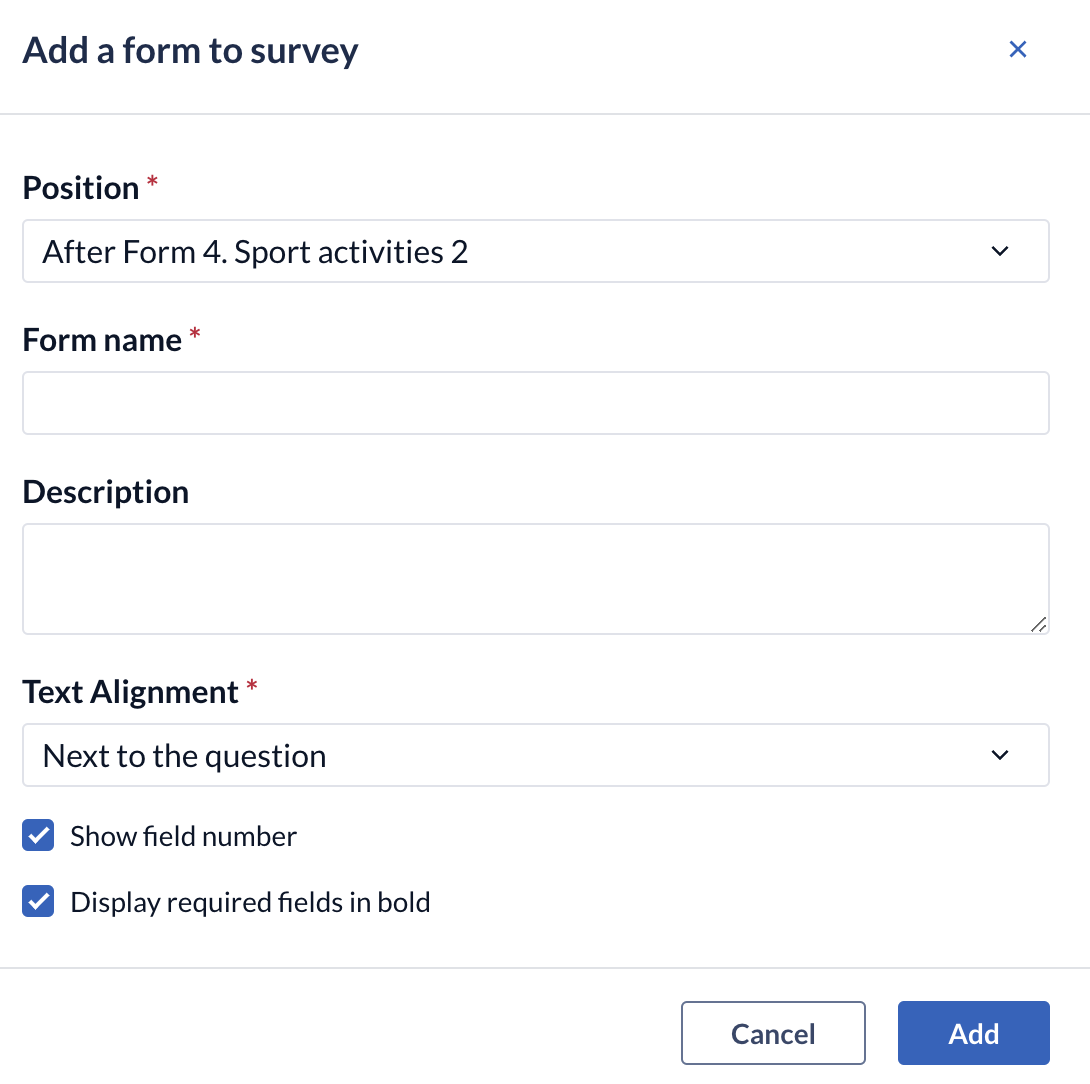
- Position: determines where you want the new form to be placed.
- Form name: the form's title which participants will be able to see (required).
- Description: the description of the form.
- Text alignment: indicates where the fields and responses available for a field will be displayed (while possible) on the participant's screen.
- Show field number: determines whether the field number will be displayed ahead of the field when shown in browser
- Display required fields in bold
Press 'Save' to create the new form and return to the Form builder.
Copy a form of a survey
To copy a form, click on 'Copy form' in the three dots menu.
Edit a survey or survey form
Once you have your survey or survey form(s) created you may need to make changes to the fields within them. For example to the name/position of the form, and the intro/outro text of the survey.
To make changes to these fields, use the cogwheel close to the name of the survey or survey form. This time you will select the option "Edit survey" or "Edit form" and click "Save" when you are done.

Delete a survey or survey form
To delete a survey or survey form, click on the cogwheel next to the concerning survey or form and select the option "Delete survey" or "Remove form from survey" as shown above. Next, enter the exact name of the survey or survey form in the confirmation pop-up that appears. Pay attention to the upper- and lower- case letters of the name:
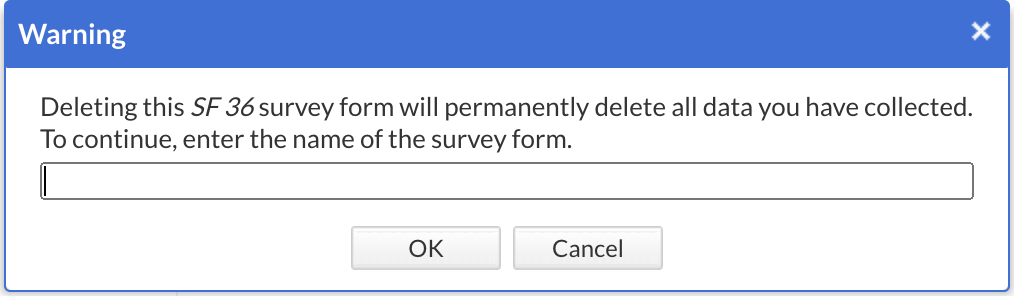
Click "OK" and now the structure is no longer visible in the list.