Adding participant status in CDMS
Table of Contents
It is possible to assign a status to each participant if your study administrator has created relevant statuses in the Settings tab. Adding a status to a participant is only possible for study team members with Edit rights.
To add a status for an individual participant, open the participant and select the relevant status in the participant status dropdown menu:
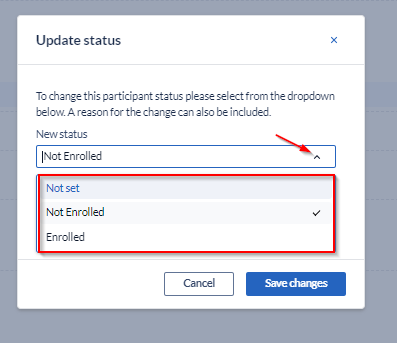
NOTE: the dropdown is a quick and direct way to change the status on the fly, while on data entry and therefore will skip the option to add a reason for the participant status update. If a reason needs to be added, please use one of the other three (3) ways to change this:
In data entry, from the left-side navigation bar or in participants overview, from the 3-dot and the Actions menus.

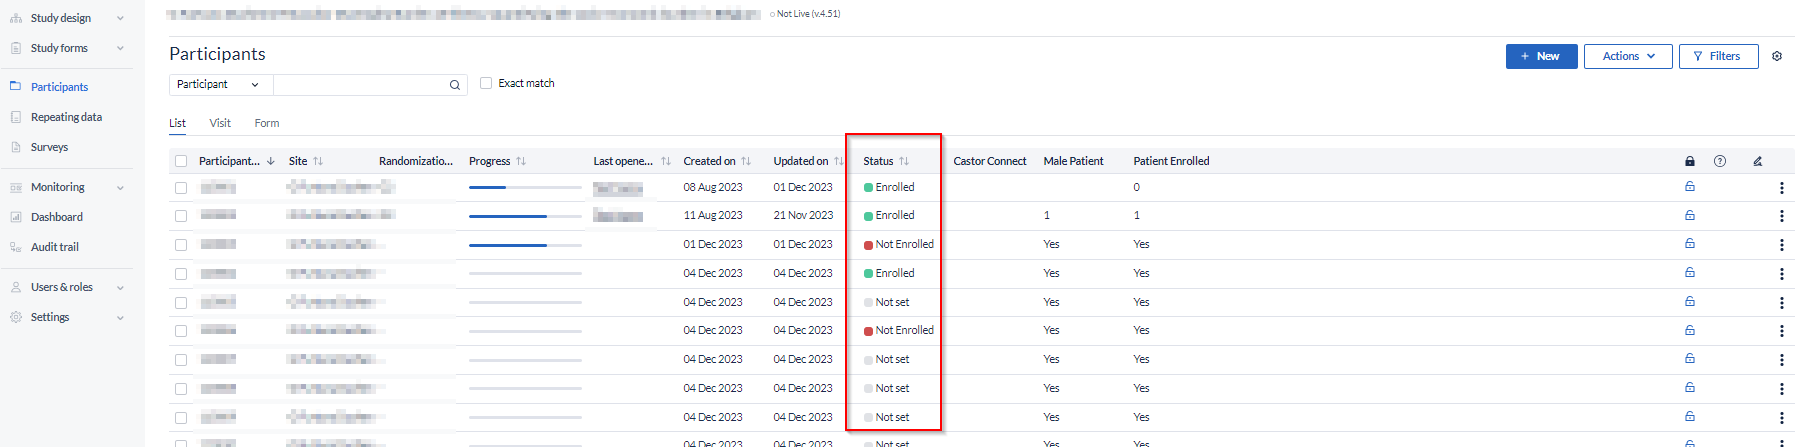
The participant status is also visible in the Participants overview in the Status column.
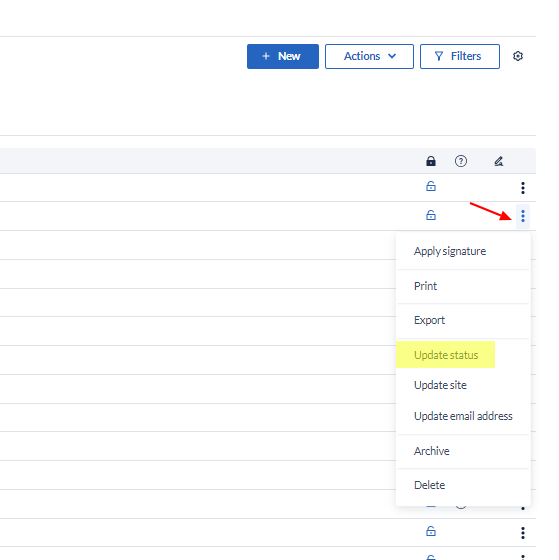
The status can be changed by clicking on the 3-dot menu in a row related to a relevant participant and clicking the option 'Update status':
To update status for multiple participants, select the participants and click on the Actions menu, then choose the option 'Update status'
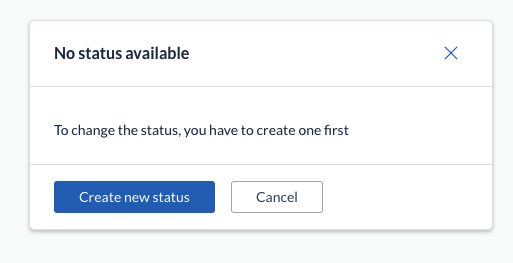
If no statuses have been created on the study, the user is informed of that and can directly jump to create a new status in the study Settings provided that they have Manage Settings rights.
In participants overview, users can filter by results by participant status. If no participant statuses have been defined in Study Settings, an informative text is shown in the filters panel next to the new filter criteria.
Every time the status of a participant is updated, a new ‘Participant status updated' event is logged in the Audit trail.
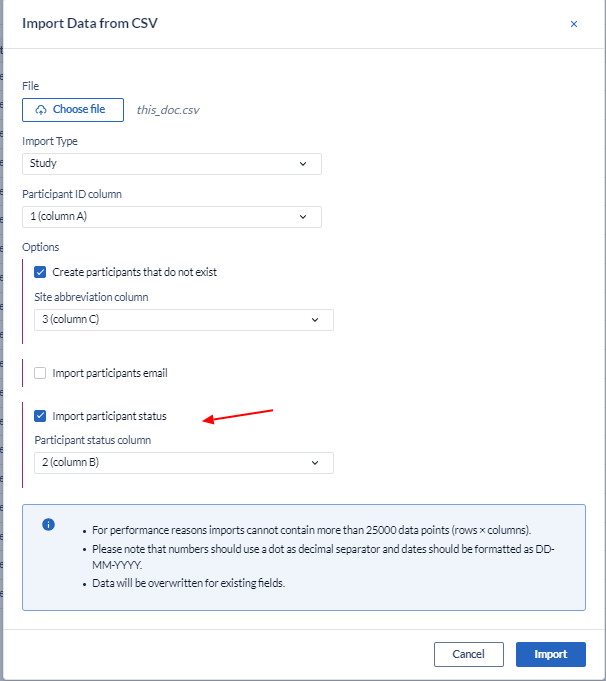
Importing Participant status
It is also possible to update participant status during the data import process. On the Import dialog you will find the option “Import participant status” to be selected.

Please, note:
- The participant status name must exist in the study. If this does not exist, a warning will be shown in the import preview “Participant Status Not Found and will not be imported”.
- If the imported value is empty, this is considered an intentional removal of the status for the affected participant(s) and will be therefore updated to ‘not set’ (the default value for all participants). A warning in the import preview will show ‘Participant Status will be unset’
For more information on how to import the data, please refer to the article How to import study data.
View participant status in printouts and export files
You can also see participants status on printouts as well as into the export functionality so you can see the status of each participant while printing or exporting them.
For a printout you can find the participant status on the top of the page. Learn how to print participant data in the article Print participant data
For an export file, you can find the participant status on the second column when exporting in CSV, but this may vary depending on the exporting type selected.