Set up (Source) Data Verification for your study in CDMS
Table of Contents
In Castor CDMS you have the option to verify collected data in your study. The most common example is source data verification (SDV), but you can also define your own verification type depending on the quality control that you want to use for your study data.
To use this feature you have to first ensure that the correct study settings are applied and that the correct user rights are assigned to users in the study.
Data verification is linked to Monitoring, so to be able to use it, first enable ‘Monitoring’ in your study settings. Monitoring cannot be enabled for retrospective studies.
Verification types in your study
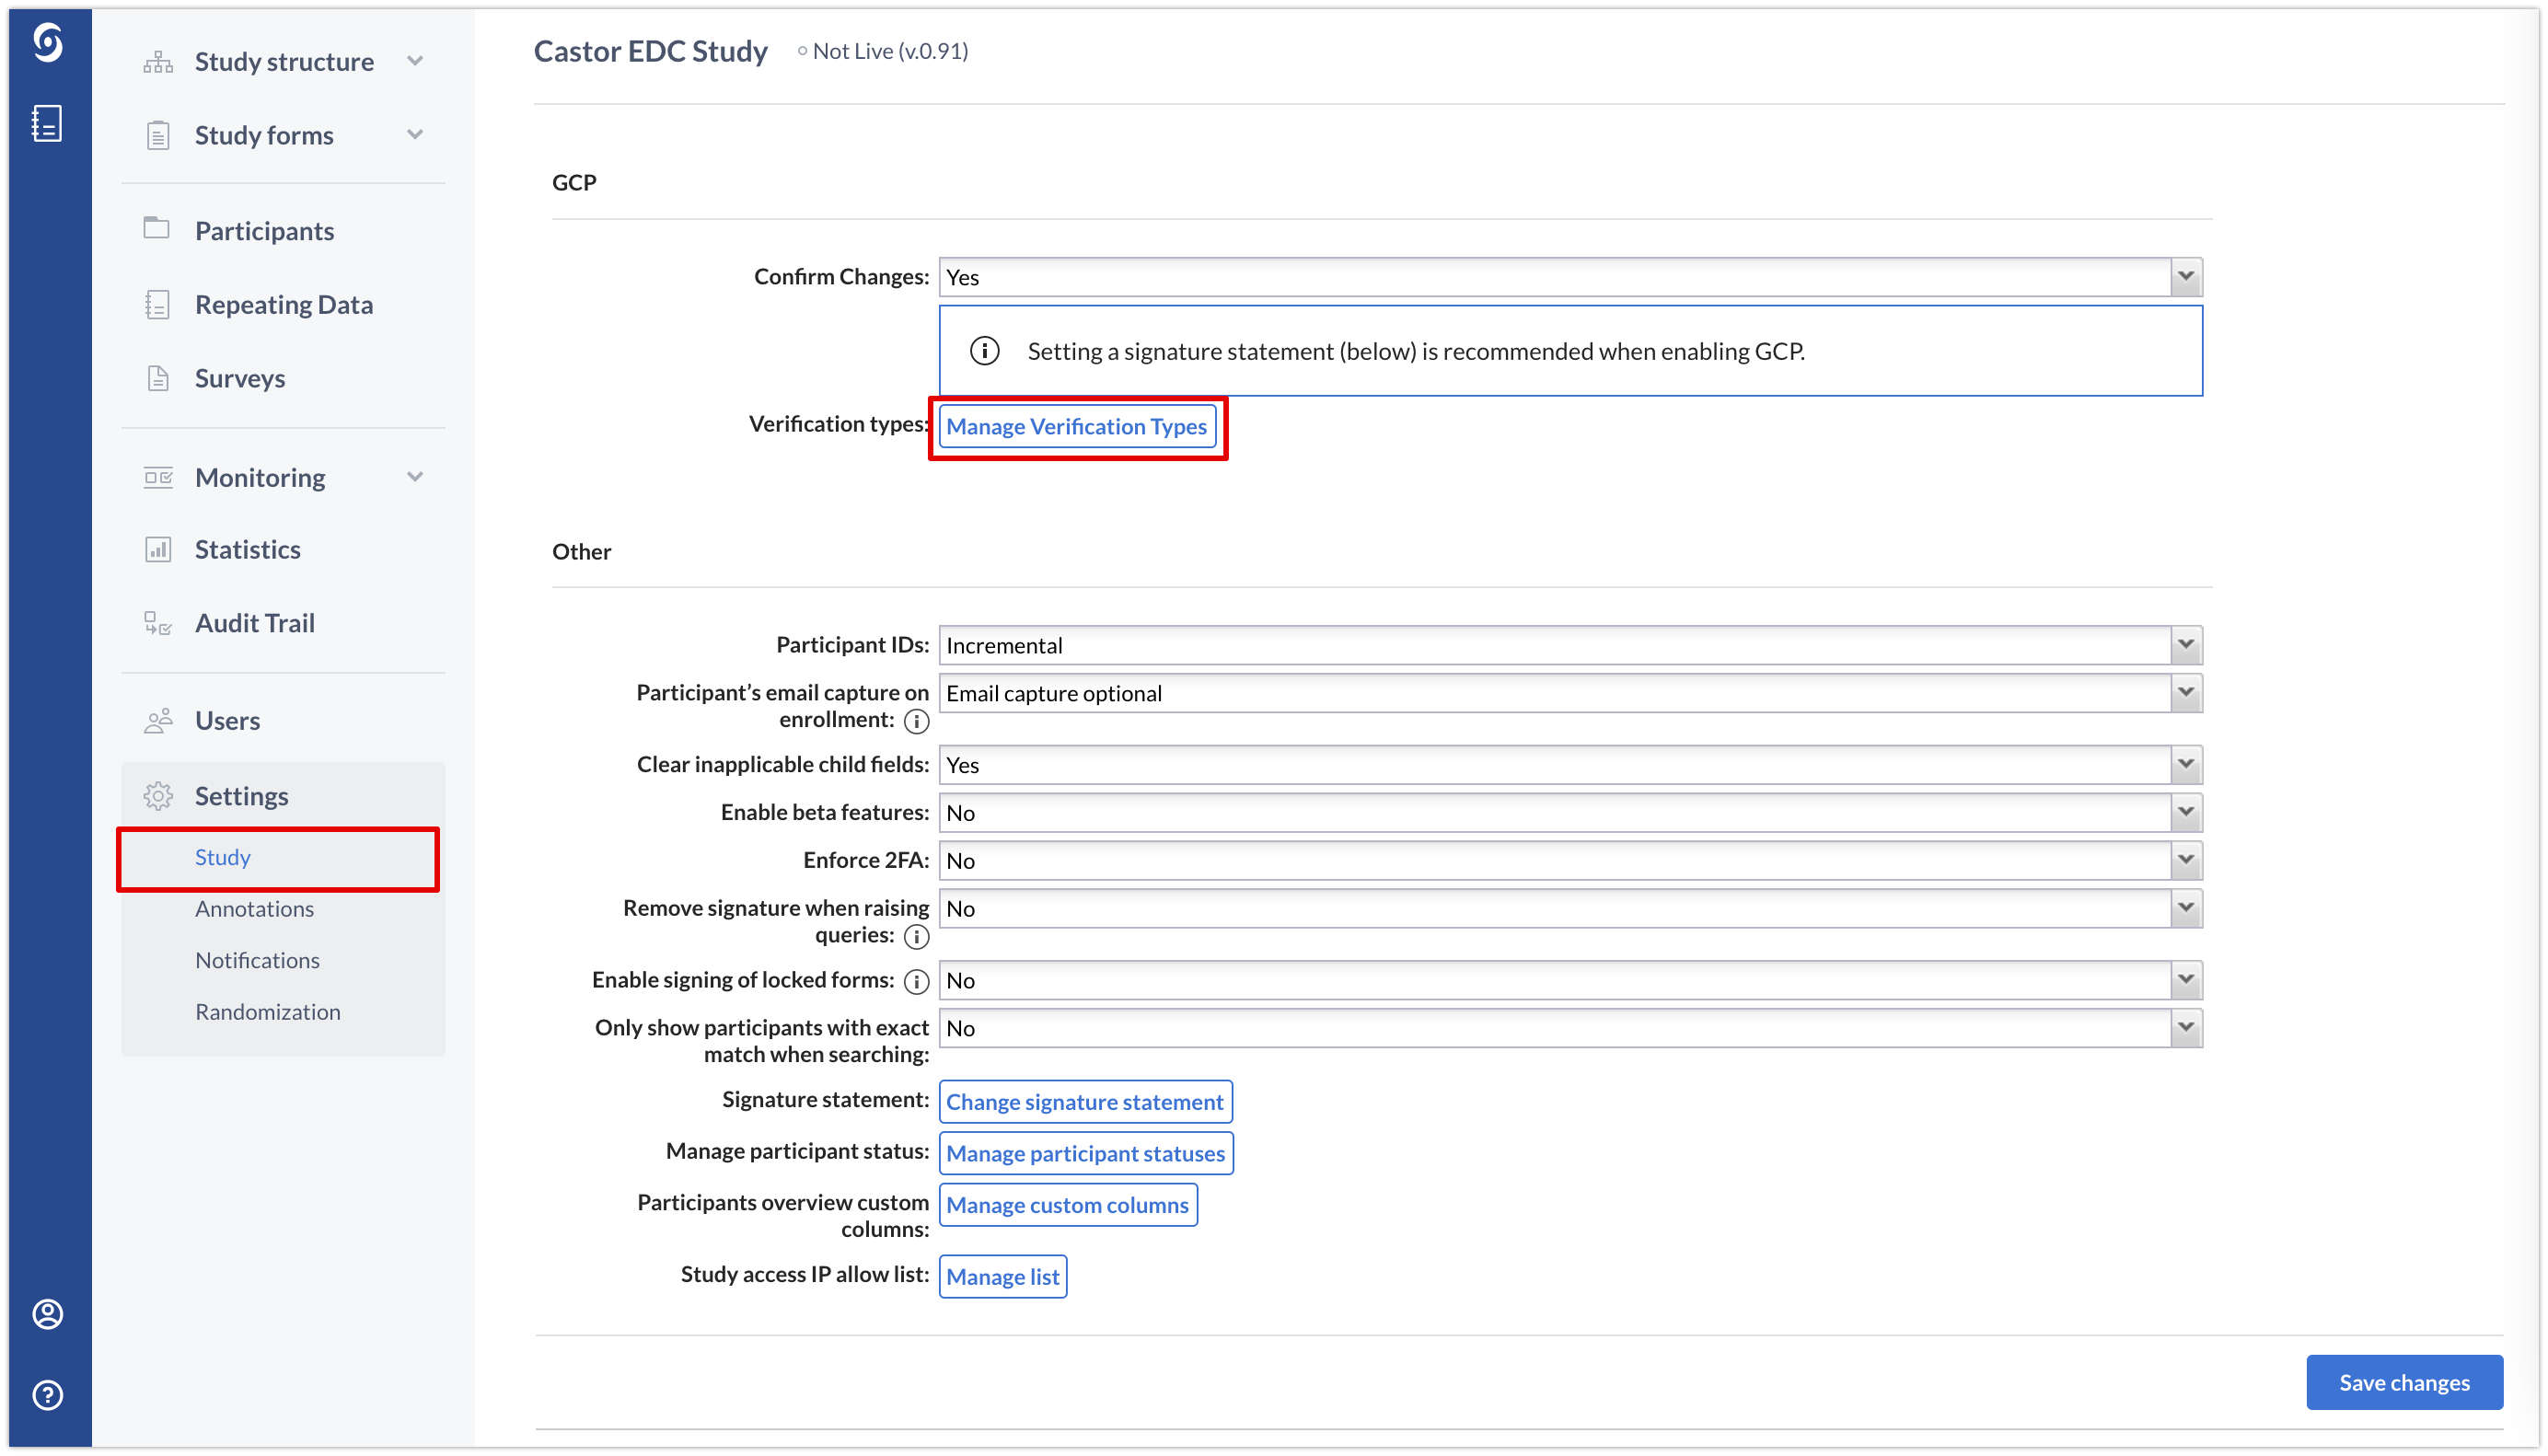
Under 'Manage verification types', located in the 'GCP' section of the study settings, you can add or edit the verification types in your study:

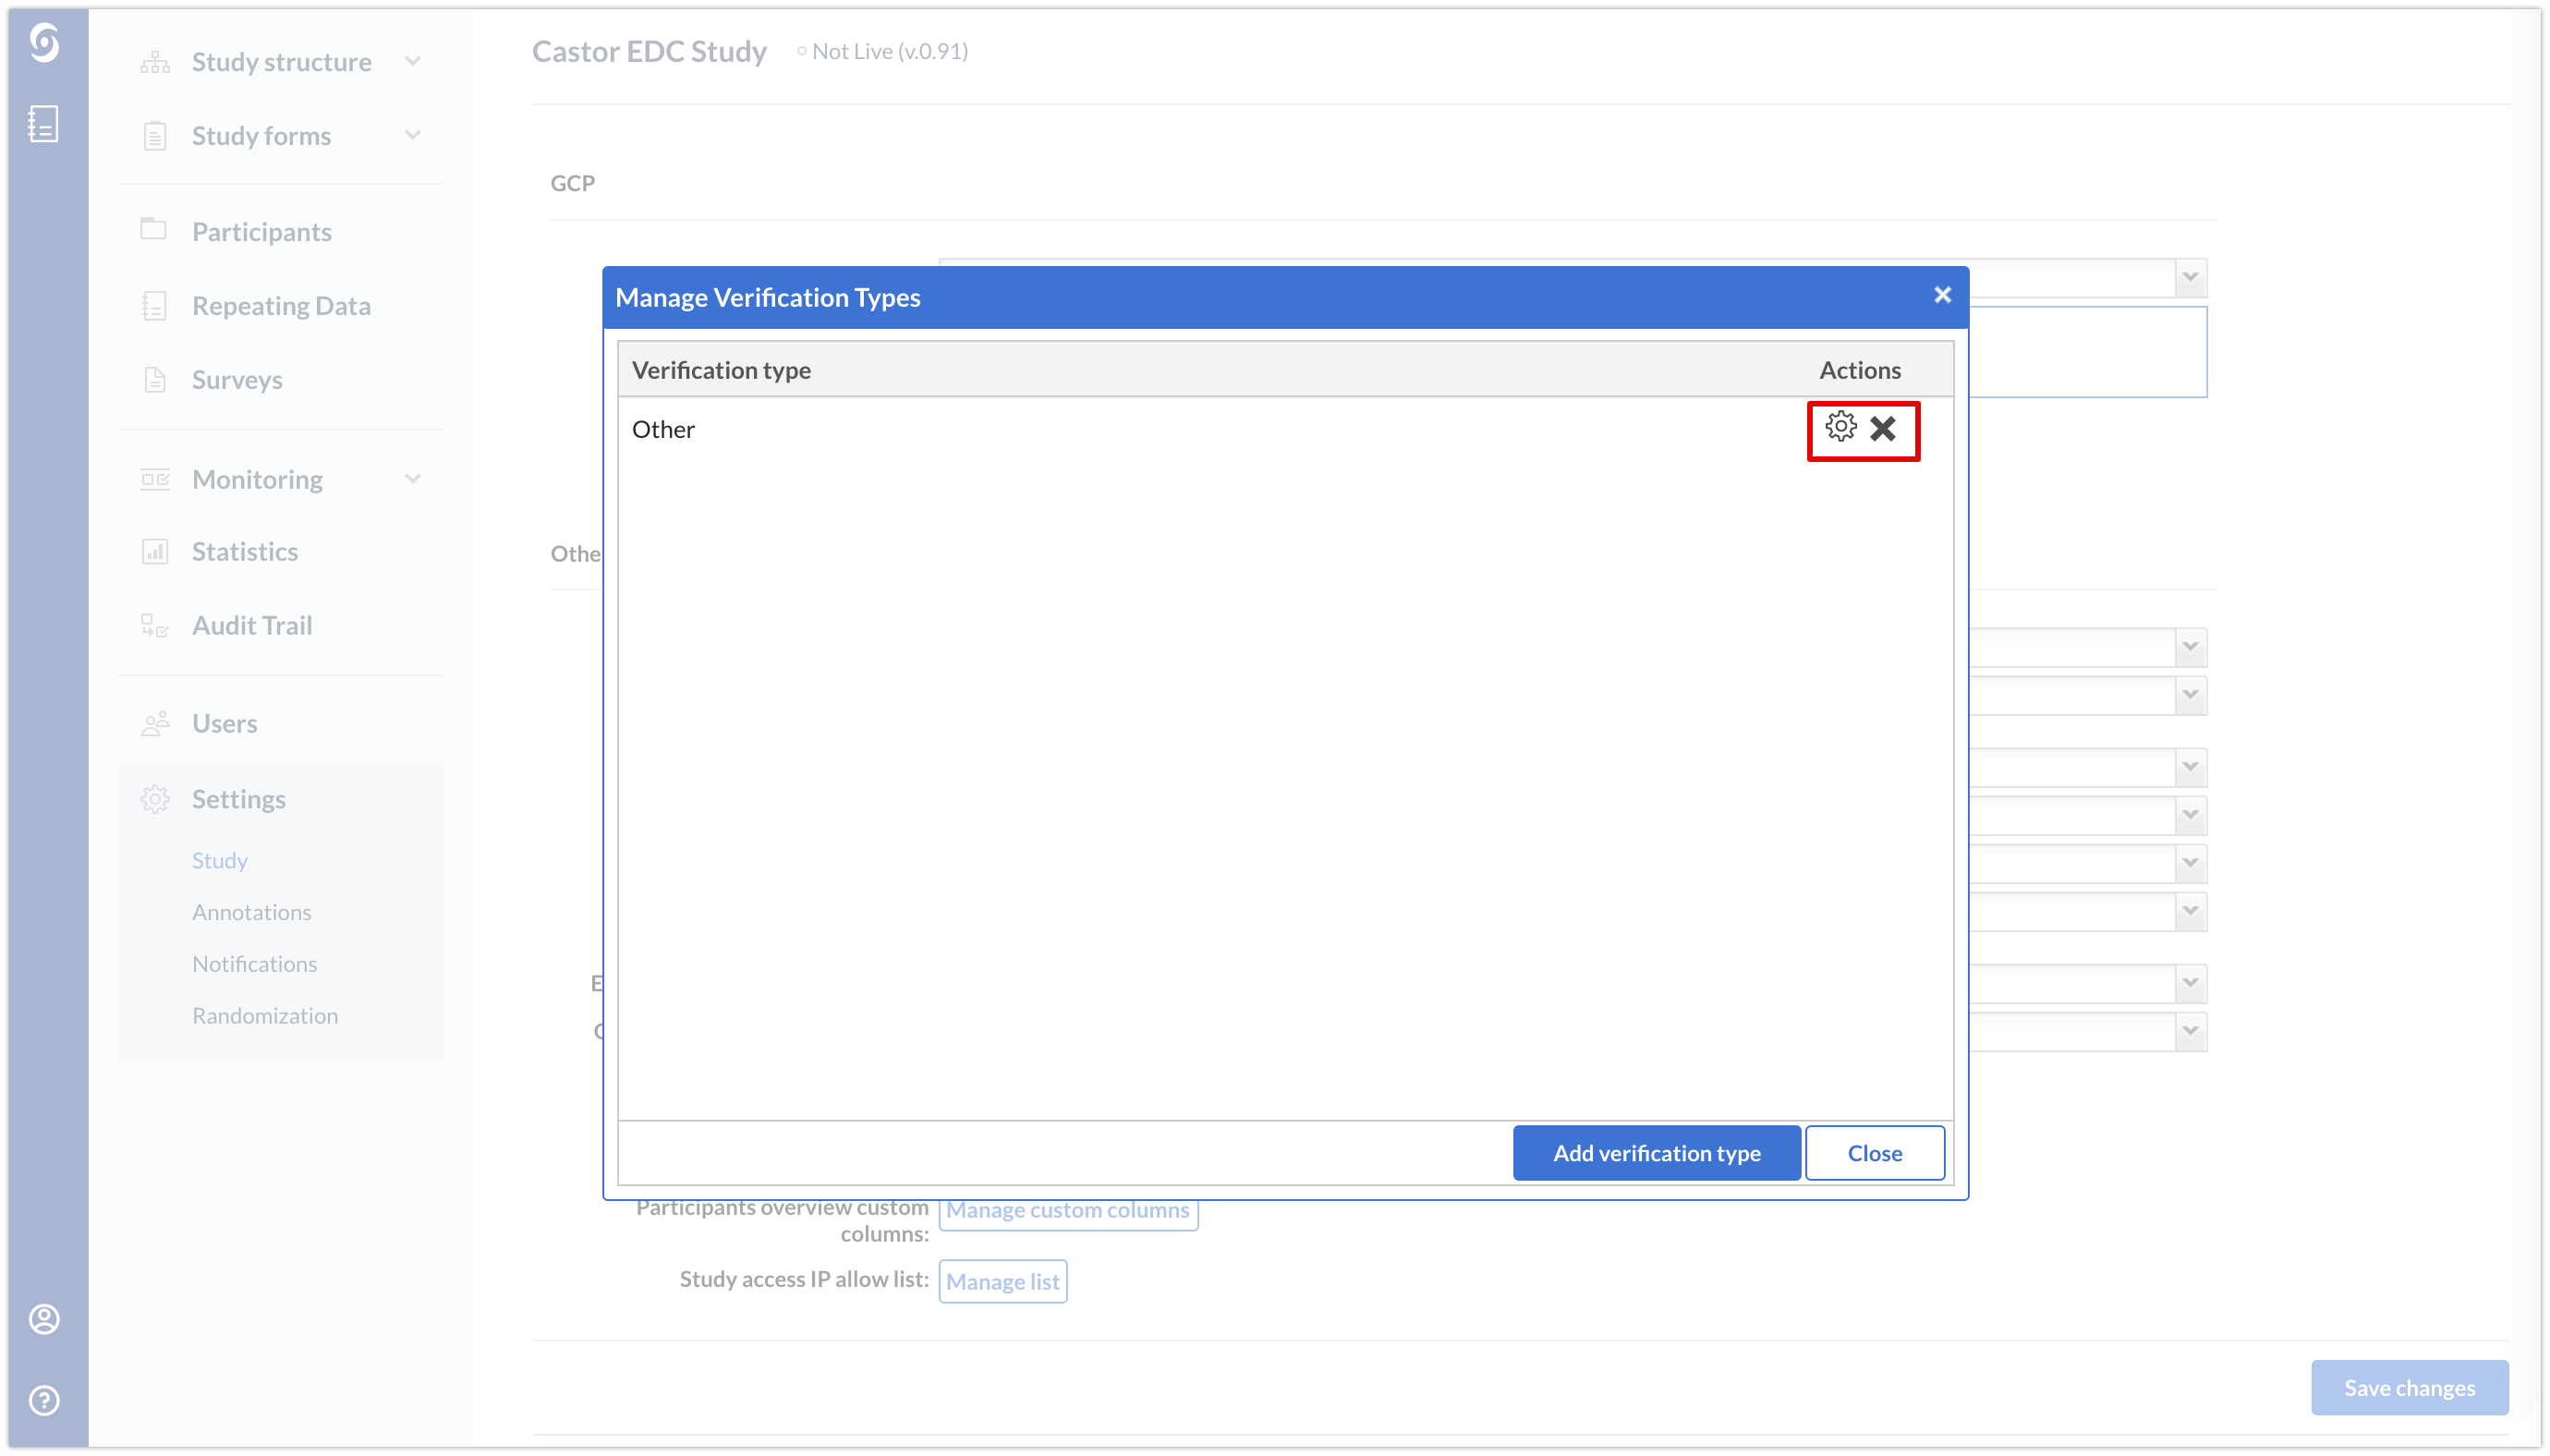
There are two verification types that are defined by default in each study: Source data verification (SDV) and Other.
However, in the Castor CDMS user interface you can only see and edit the 'Other' type to contain the name you would like. You can also edit the title or remove it if it is not necessary for your study by using the cogwheel icon or X icon respectively.

The 'Source data verification' type cannot be edited or removed.
You cannot remove a verification type if it is associated with a participant. In that case, the verification itself has to be removed first from all forms by the user who has verified them.
Adding New Verification Type
To add a new verification type:
- In the ‘Settings’ tab → ‘Study’ sub-tab → section ‘GCP’, click on the ‘Manage Verification Types’
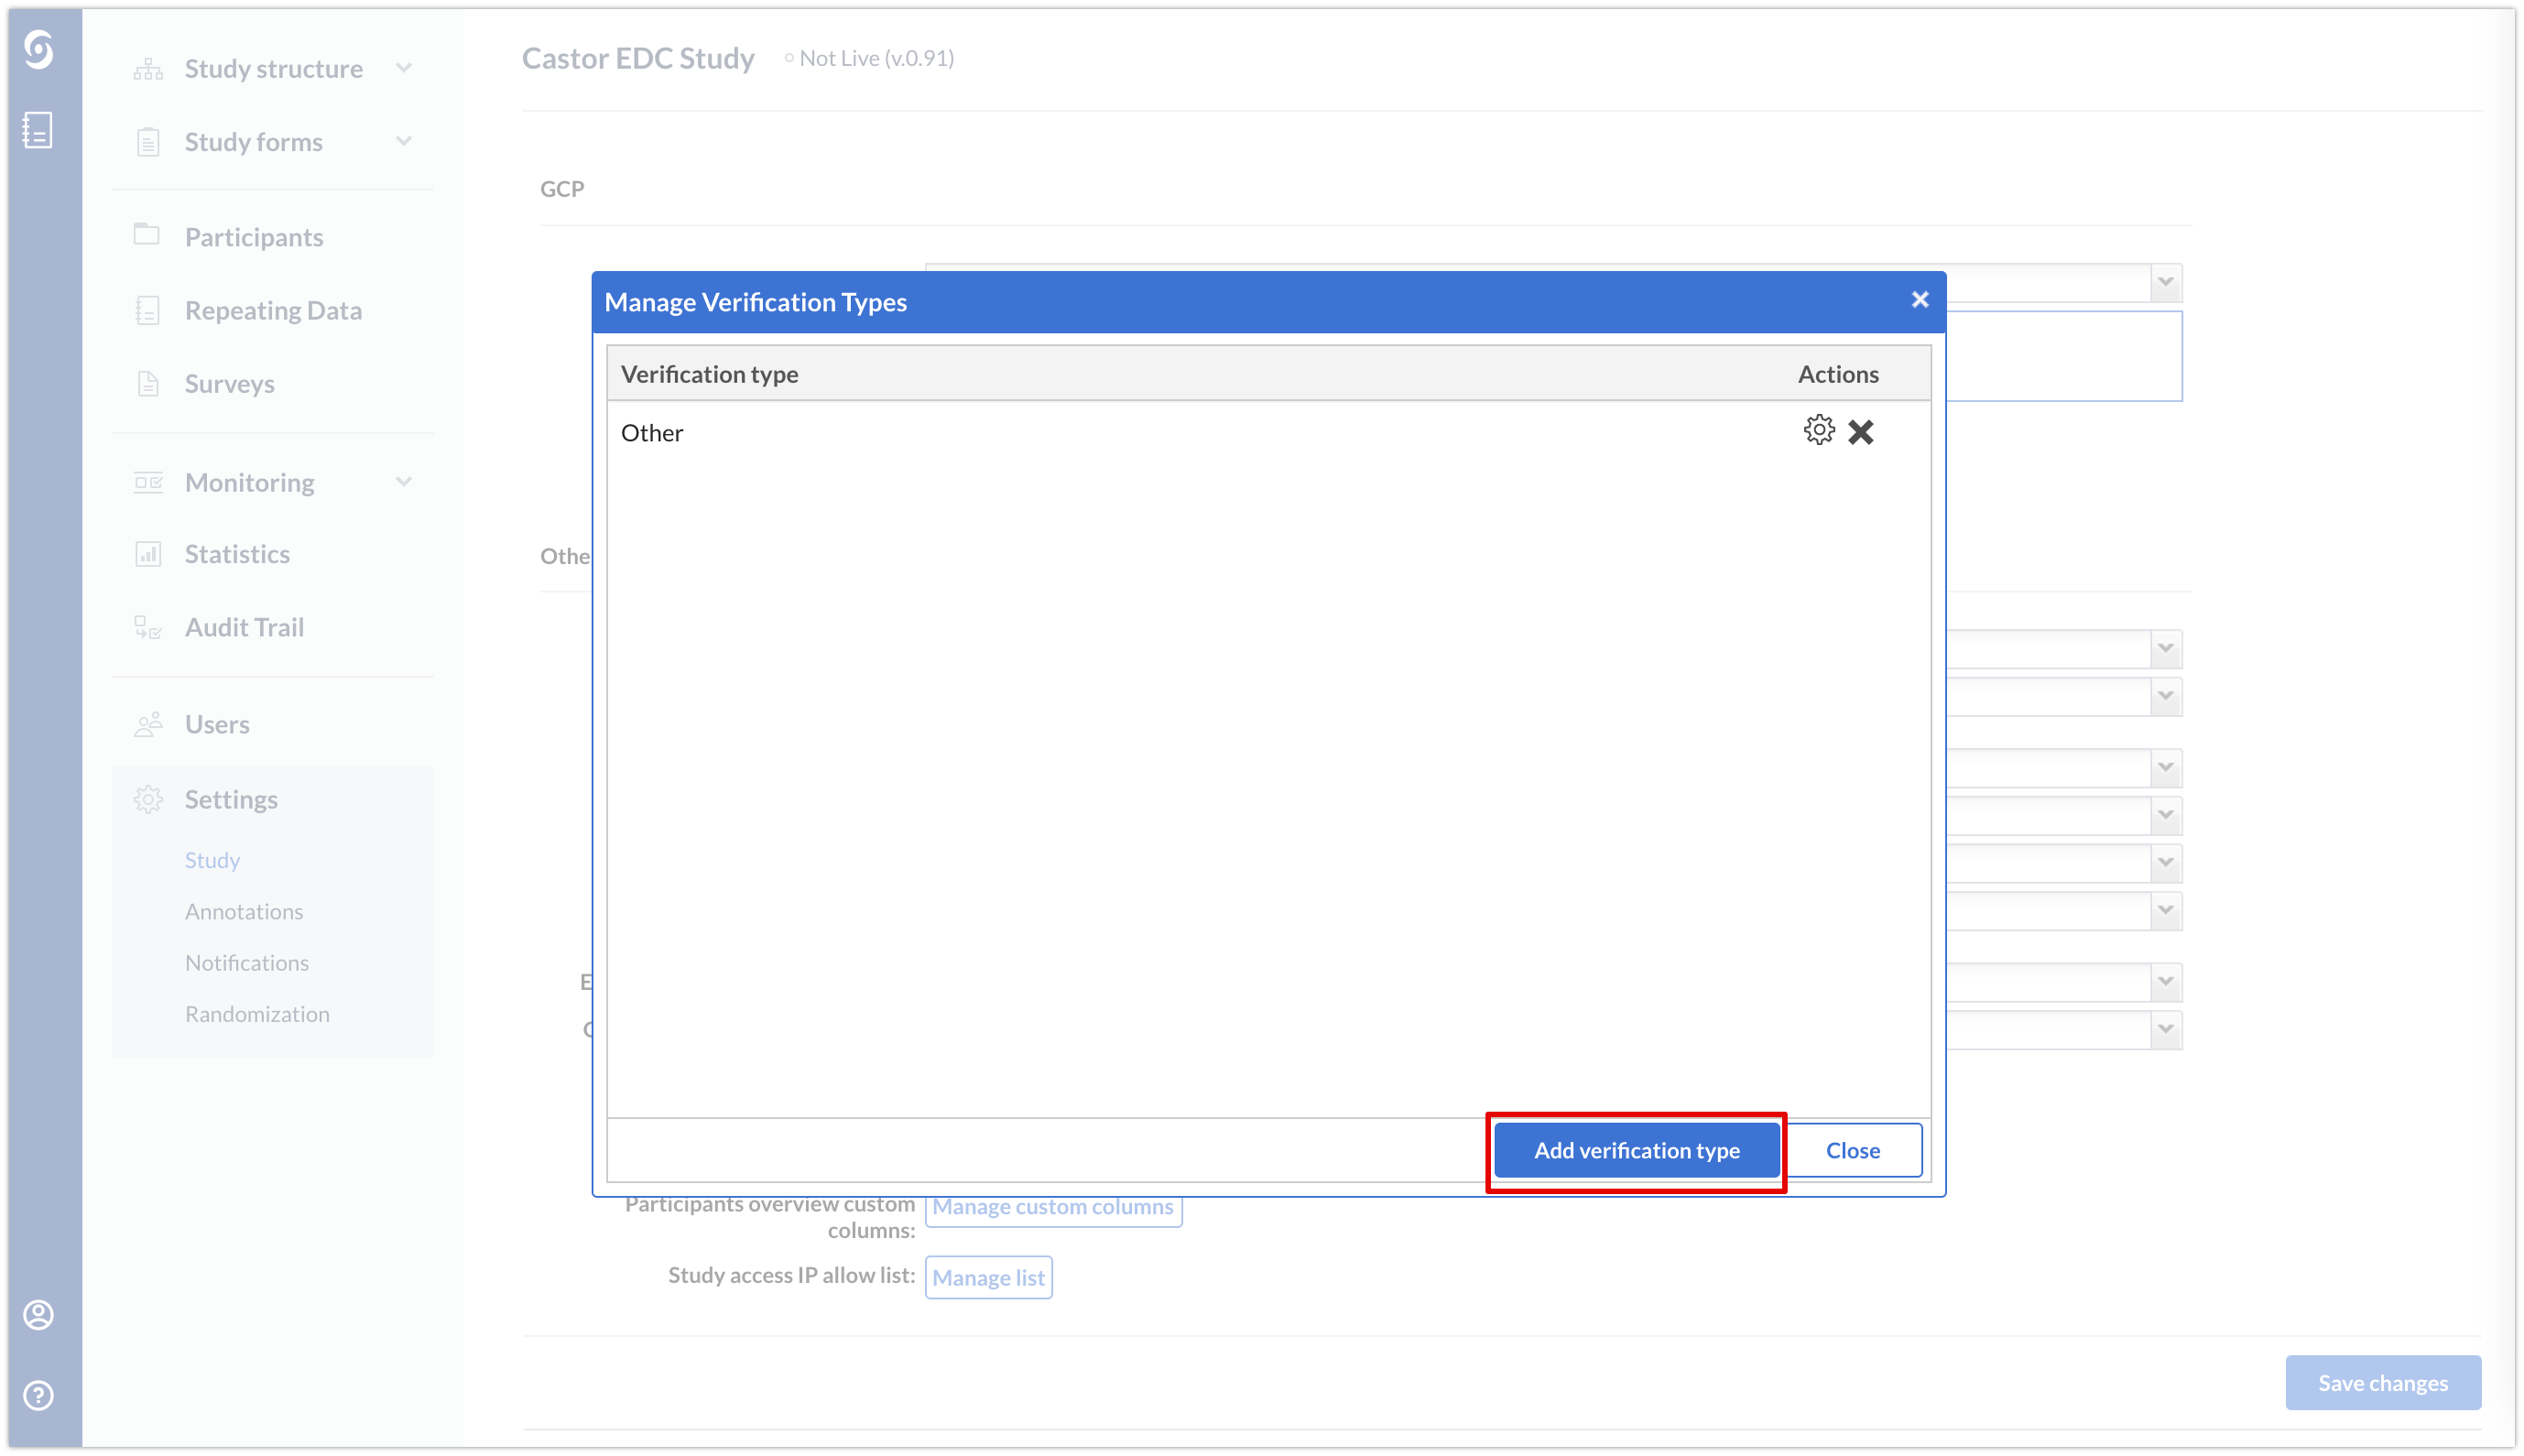
- Click on the 'Add verification type' in the Manage Verification Types’ pop-up window.

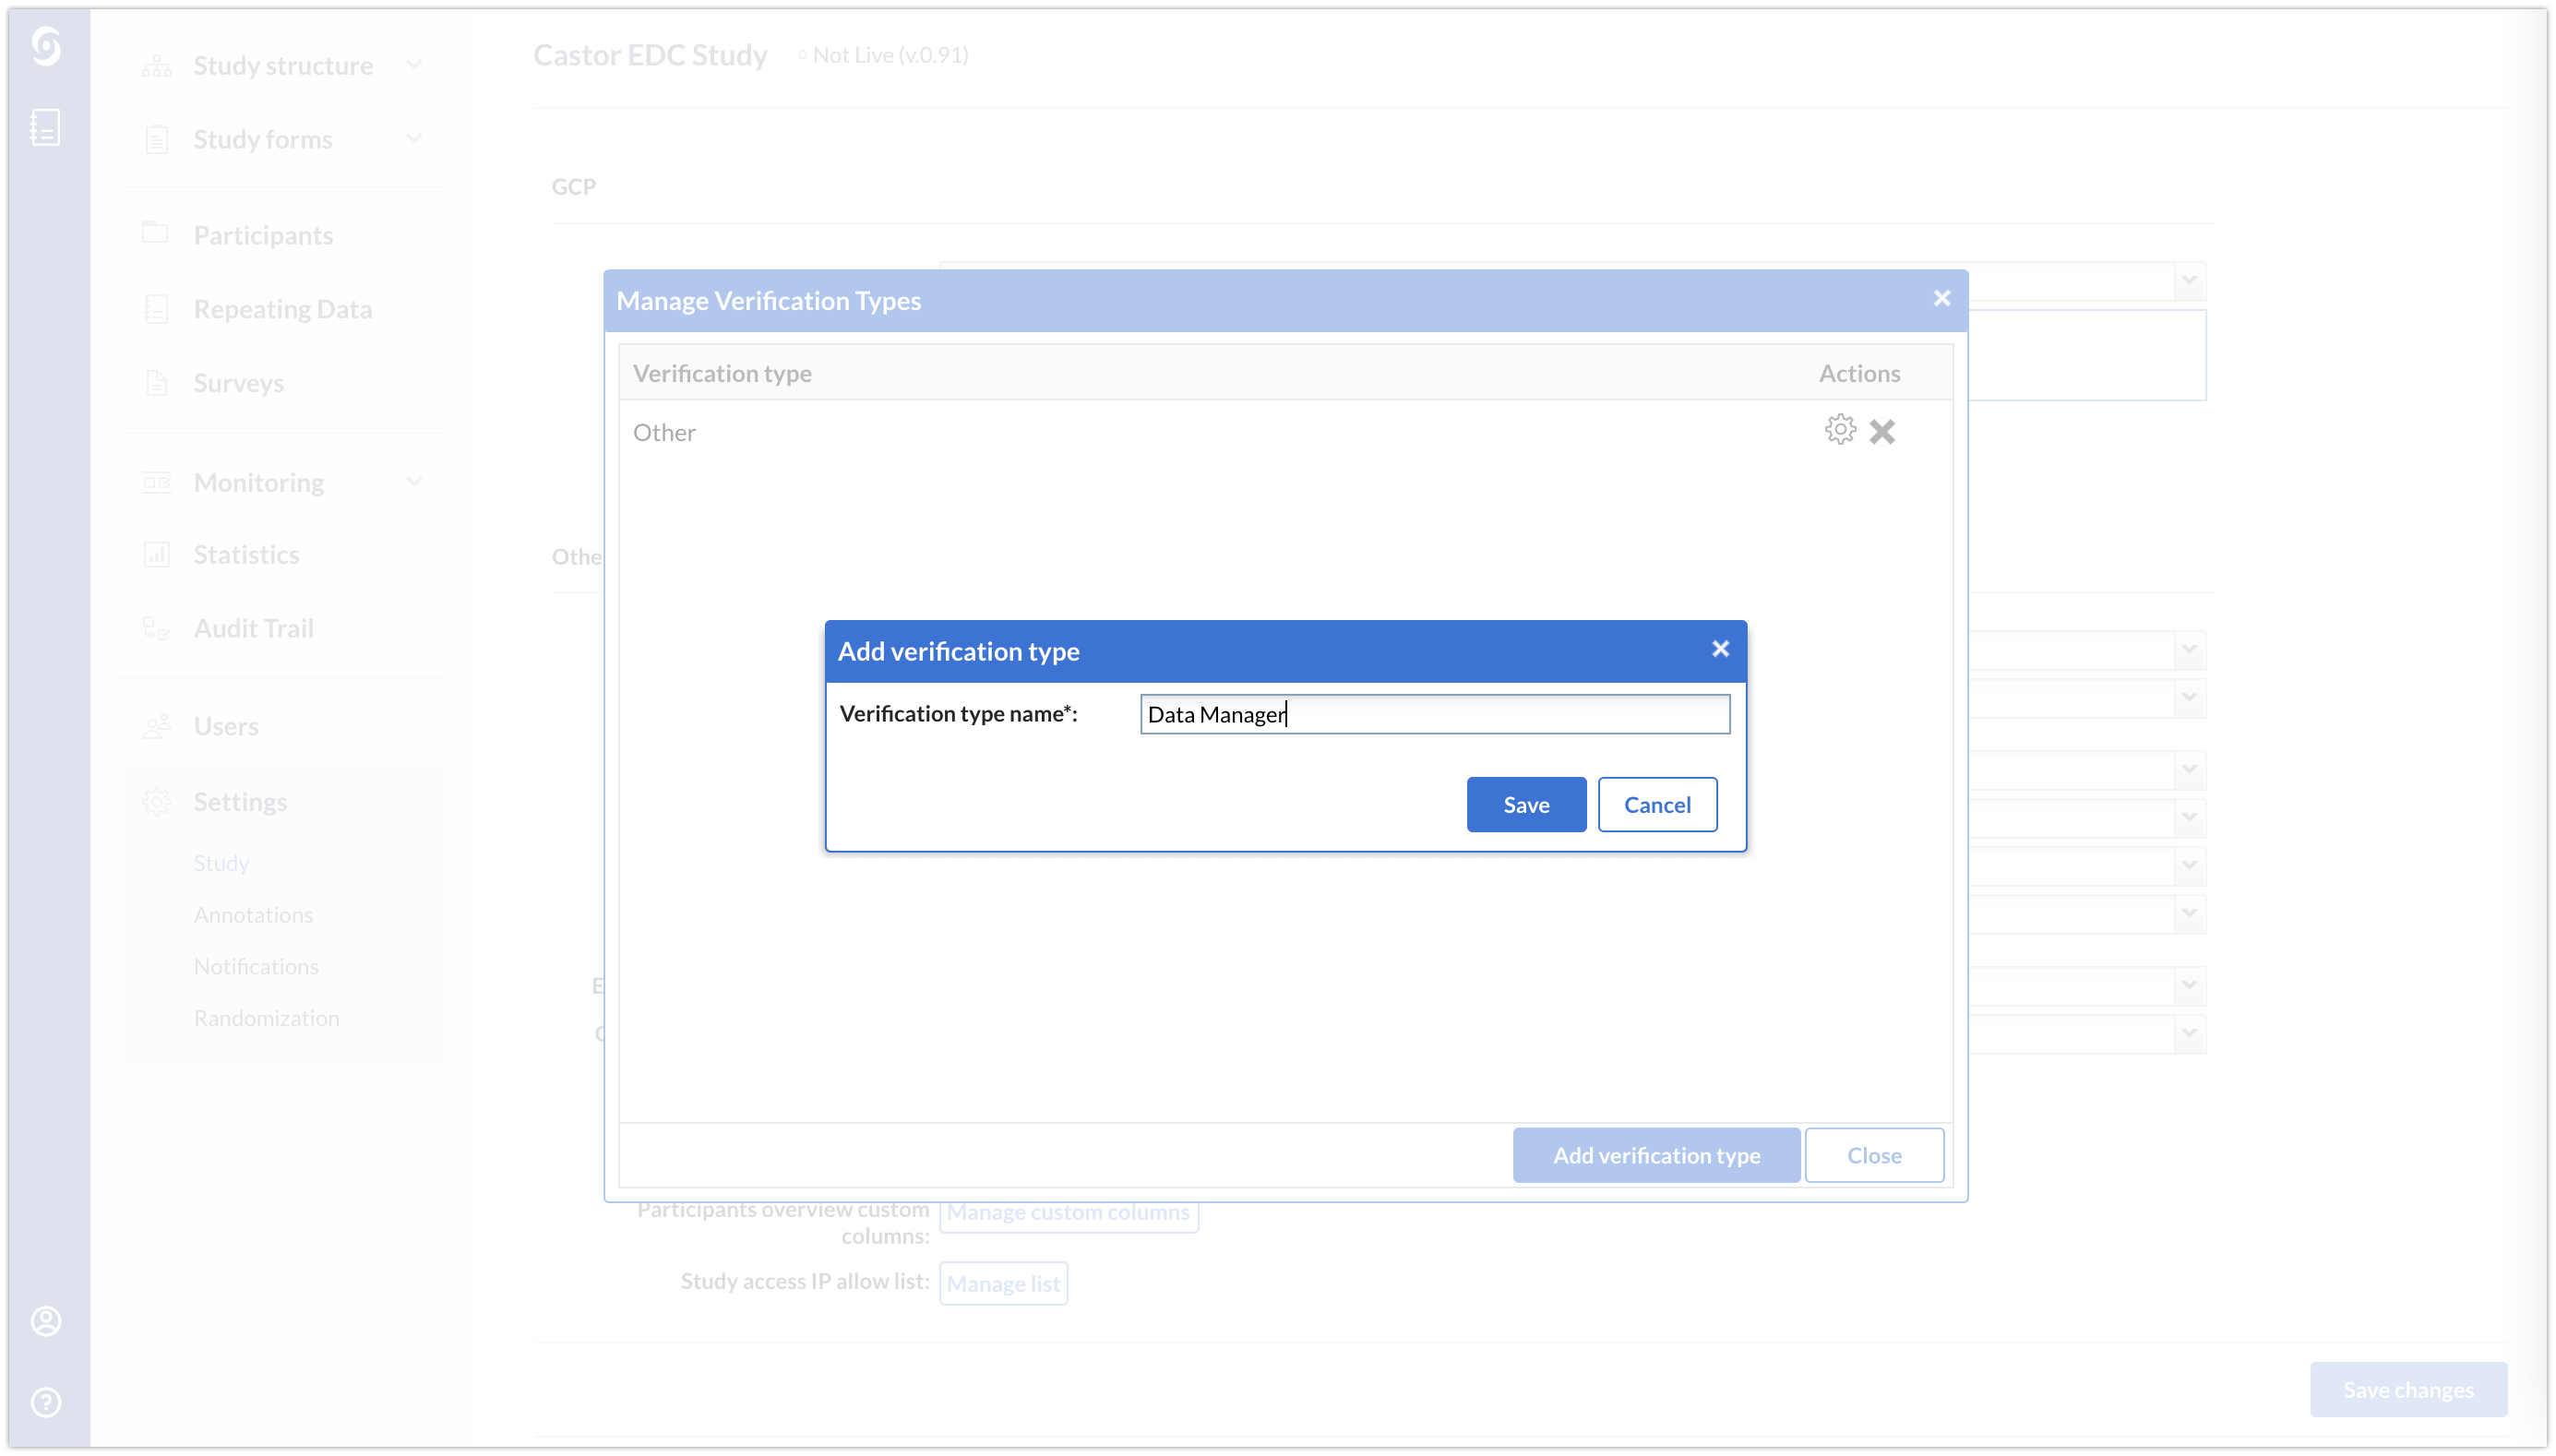
- Give the new verification a name and save it.

- The verification type is now added and you can close the pop-up. You will see it appear in your list of verification types and you can edit or delete it by using the action buttons next to the name.
Your verification is all set and can be used in your study by the monitor or any other user who has Verify rights. Check this article to learn how to verify a form or visit within a participant.
Please note that only the SDV icon will be displayed in the visit/form view in the Participants overview, while the custom verification icon will not be displayed in that view.
SDV is also available on the field level, while custom verification is only available on the form level. It is possible to choose to apply SDV to a form (not fields), to all required fields within a form or to all fields. Check this article to learn how to verify a form or visit within a participant.
Add a notification for dropped verifications
You can also add a notification for a relevant study user (e.g. monitor) when a verification is dropped. This will send a message to the selected recipient whenever changes are made to a verified form. To do so, navigate to the ‘Settings’ tab → Notifications and define a new notification for the event 'Form verification dropped due to edit':