The study 'Settings' tab in CDMS
Table of Contents
All study settings can be found in the tab 'Settings', subtab 'Study'. This tab is available for the study admins with 'Manage Settings' rights. Here we describe all the settings that you can adjust.
General settings
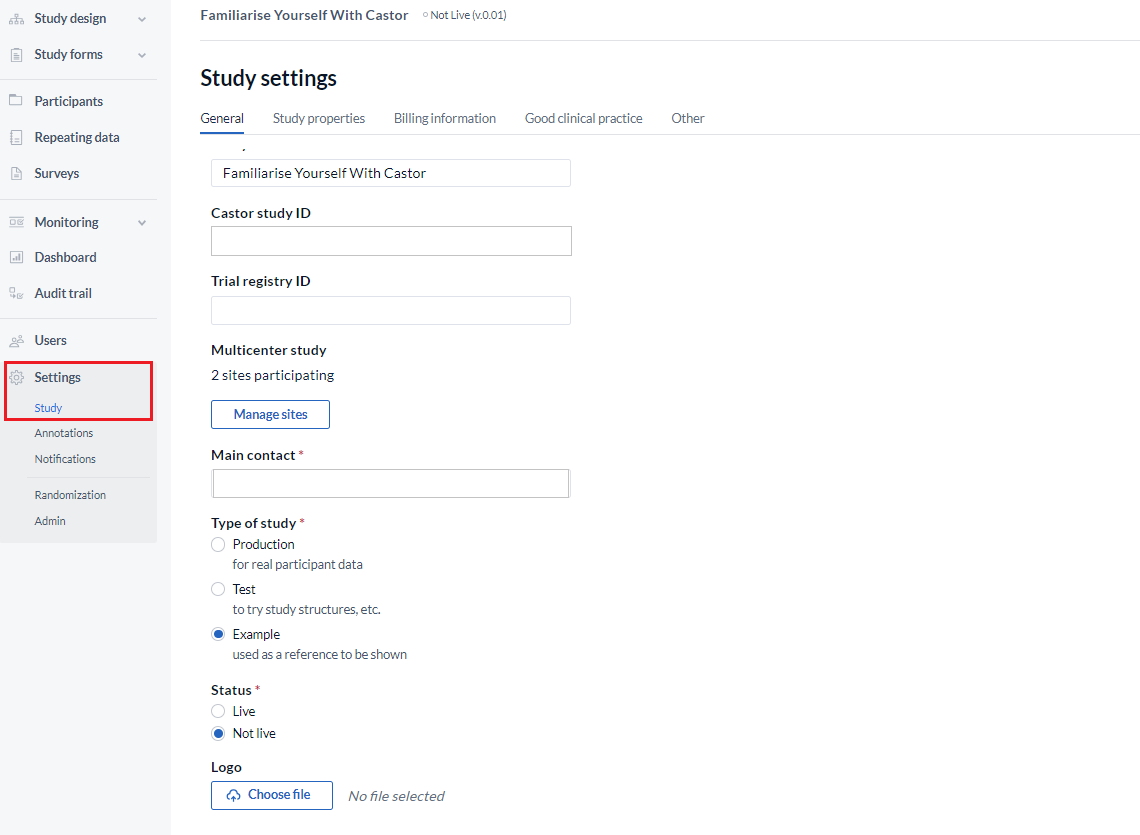
Here you will find the following details:
- Study name: Change the study name which is displayed in the ‘My Studies’ list and when accessing the study.
- Castor Study ID: Unique ID that identifies the study in Castor. It cannot be changed.
- Trial Registry ID: ID of the trial registry your study is registered in (if applicable, e.g. clinicaltrials.gov).
- Multicenter study: Manage participating sites and define custom date formats for each site. When you are setting up a multicenter study, use the 'Manage sites' button to add or remove sites.
- Main contact: Appoint contact person responsible for the study (study admin).
- Type of study: Change the study type displayed in the My Studies overview. It can be set to Production, Test or Example study. Use 'Production' if you will collect real patient/subject data in the study.
- Status: Determines if the study is accessible for data entry by non-manager users. Before setting a study to live, the sections Study properties and Invoice details as well as the main study contact need to be fully completed. To set the study live, select 'Yes' and save the study settings at the bottom of the page. Here you can find more information on what going live means.
- Logo: Upload a logo for your study. Upload your image by clicking the "Browse..." button, then click "Save Image". You can include this logo in survey invitations by using {logo} syntax and it will appear in data entry. We recommend a logo size of 193 x 75 pixels.
Study properties
The next section contains the study properties and the information that determines the cost of the study:
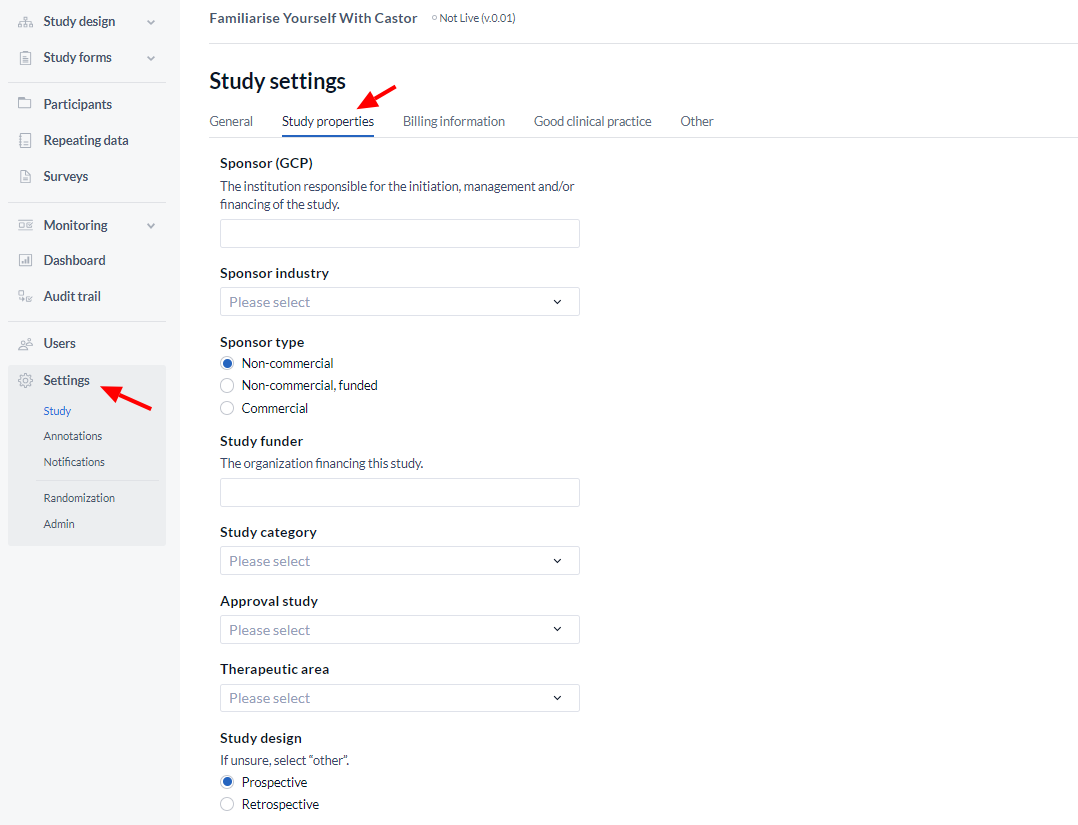
- Sponsor GCP: The sponsor of the study is responsible for the initiation, management, and/or financing the study. See ICH-GCP guidelines.
- Sponsor industry: Specify the sponsor industry of your study.
- Sponsor type: Specify if your study is a non-commercial or commercial study.
- Study funder: The organization providing the financing for the study.
- Study category: Specify the category of your study.
- Approval study: Will data from this study be submitted for regulatory approval?
- Therapeutic area: The main medical domain that applies to the study.
- Therapeutic area-specifics: The specific medical domain that applies to the study.
- Study design: Specify the design type of your study.
- Inclusions: Specify the number of inclusions (participants) in your study.
- Duration in months: How long will your study be actively collecting data for?
- Centers: How many centers will be participating in your study?
- Randomization: Will you use randomization (weighted variable block randomization with optional stratification)? Learn more about randomization and its settings. We recommend keeping the 'Confirm changes' option enabled when using randomization.
- Monitoring: Choose if you need additional monitoring features. We recommend keeping the 'Confirm changes' option enabled when using monitoring.
- Surveys: Choose if you want to use surveys for your study.
- Require access code(s) for web surveys: Using access codes will require participants to enter a code sent to the email address associated with their Survey package invitation when they open a survey. This will not apply to surveys configured as an ‘Open survey link‘.
- Field encryption: Select whether you will use encryption for your study.
-
Premium support: Set this to 'Yes' if you have purchased Premium Support for your study.
For ‘Retrospective’ studies, the ‘Randomization’, ‘Monitoring’, ‘Surveys’ dropdowns are disabled. Please select another study design type to enable these options.
For more information on pricing, visit the Castor EDC Pricing Page.
Billing information
If your study is sponsored by a commercial entity, then you will need a billing code. Contact us to get a quote for your study and a billing code. If the study is initiated by an site that has a license for Castor, you will also need to enter a billing code.
If you are not using a billing code, please follow the steps in the documentation How do I set my study to live in EDC/CDMS?
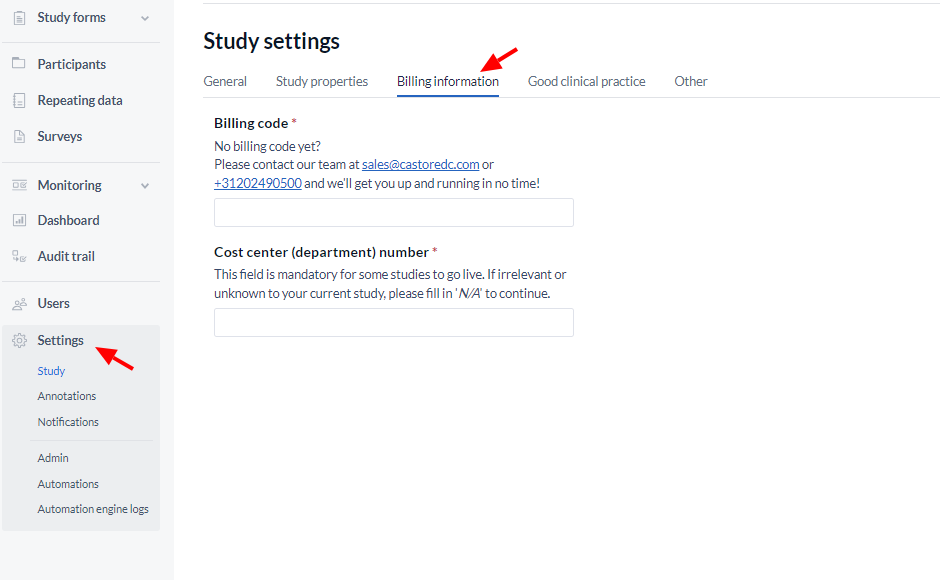
Adding a billing code
Add your billing code to the designated field, then save your settings at the bottom of the page:
The Cost center (department) field appears for studies using a billing code and allows to add additional information regarding specific project numbers if needed.
This field is mandatory for some studies to go live.
If irrelevant or unknown to your current study, please fill in 'N/A' to continue.
Good Clinical Practice
Next is the ‘Good Clinical Practice’ section, in which you can enable GCP for your study and set the data verification types to be used:
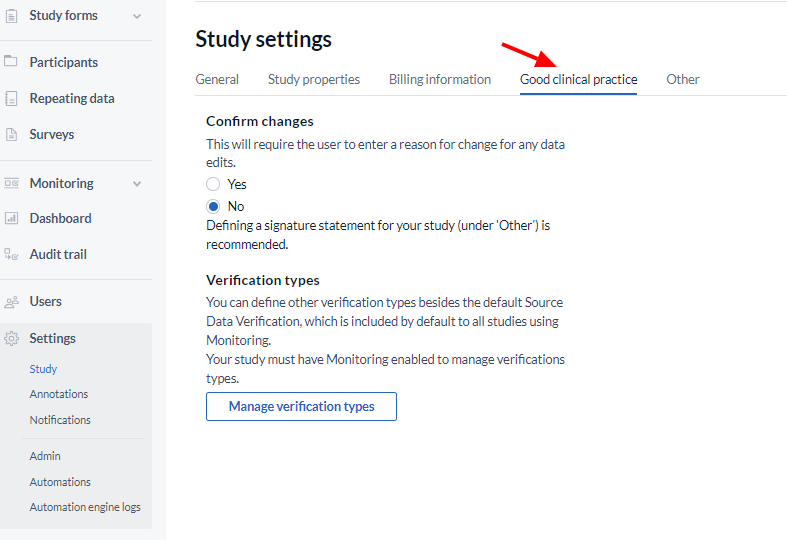
- Confirm changes: This will require the user to enter a reason for change for any data edits.
- Verification types: Source Data Verification is by default included in the verification types. (You can use this if you have ‘Monitoring’ enabled for your study). It is also possible to add other verification types by using the ‘Manage Verification Types’ button.
Other:
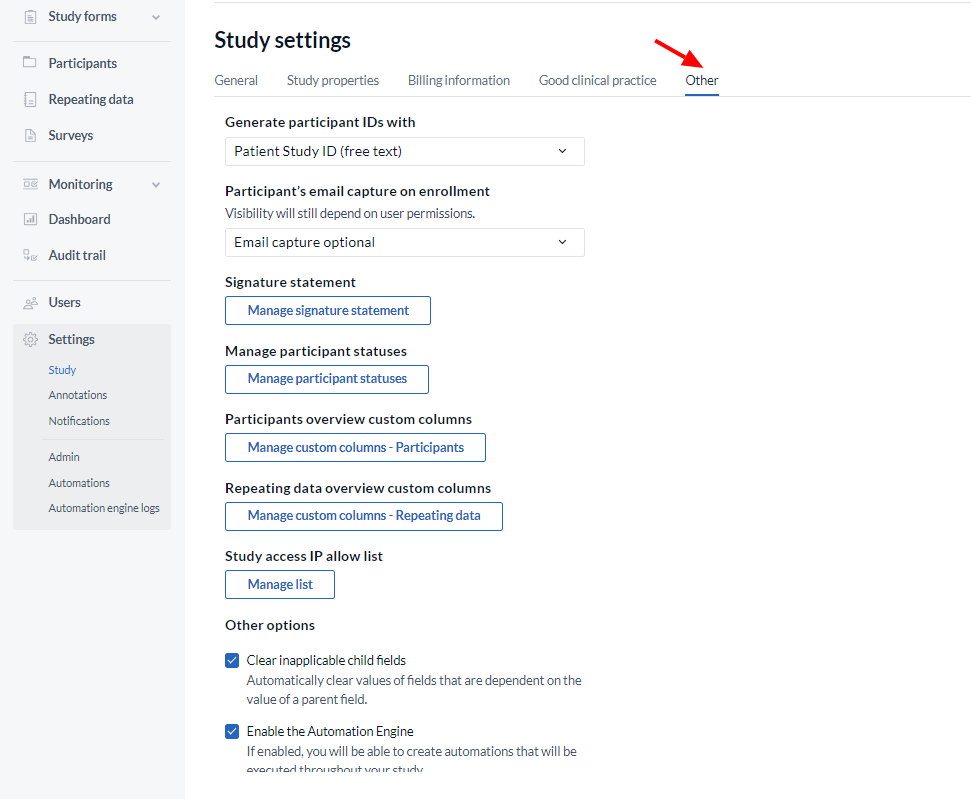
- Participant IDs: Choose how you want IDs for new participants to be generated, see Settings - participant ID options for more information.
- Participant’s email capture on enrollment: Choose if and how would an email be required for newly created participants. Please note that visibility for this option is subject to user rights. The following options are available in the dropdown menu: Email capture optional, Email mandatory, Email not captured on enrollment.
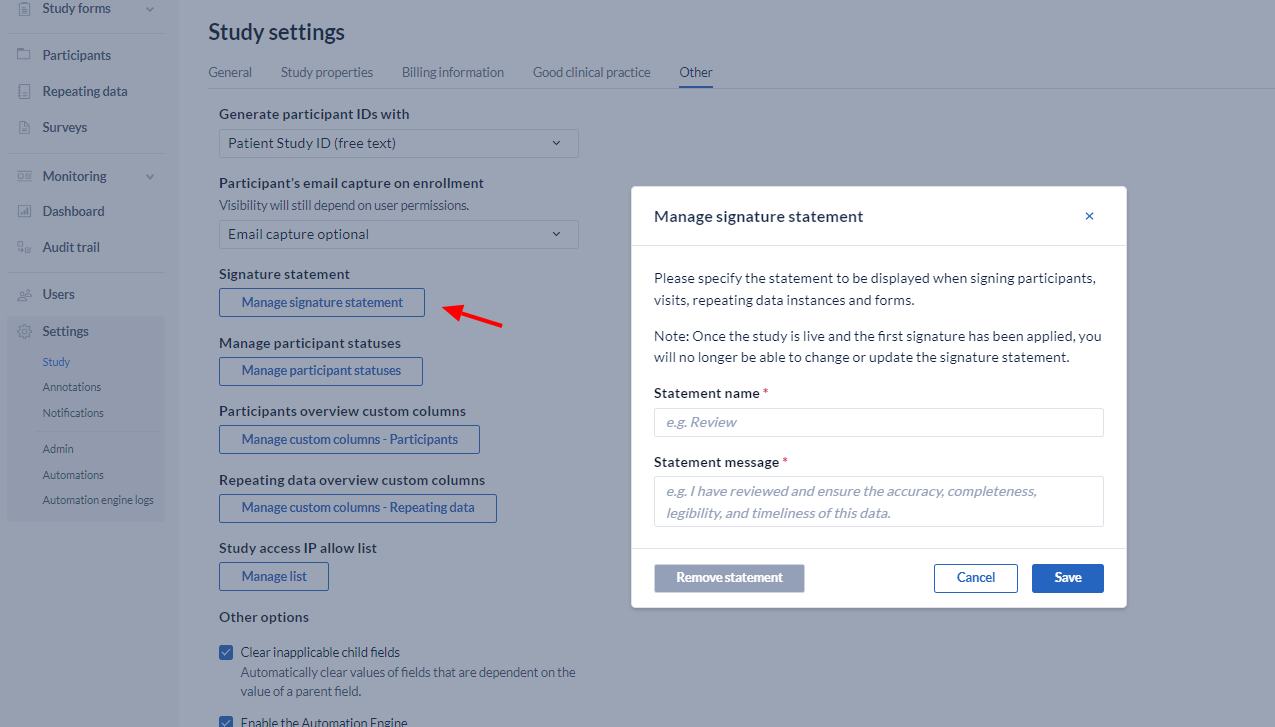
- Signature Statement: This statement will be presented when applying a signature. So, by signing the visit or form, you declare what is written in the signature. After the study has gone live, it is no longer possible to edit the signature.
- Manage participant status: This option allows you to create, edit, and delete participant statuses.
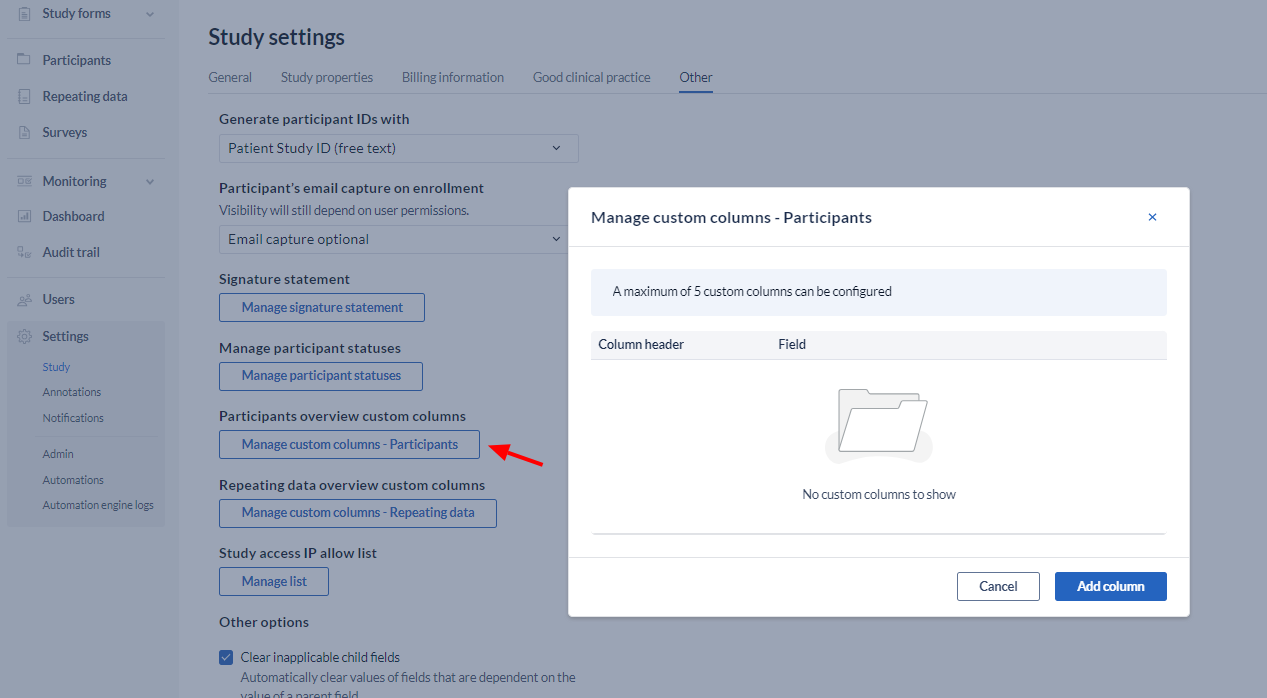
- Participant overview custom columns: Add and delete custom columns for the participants tab.
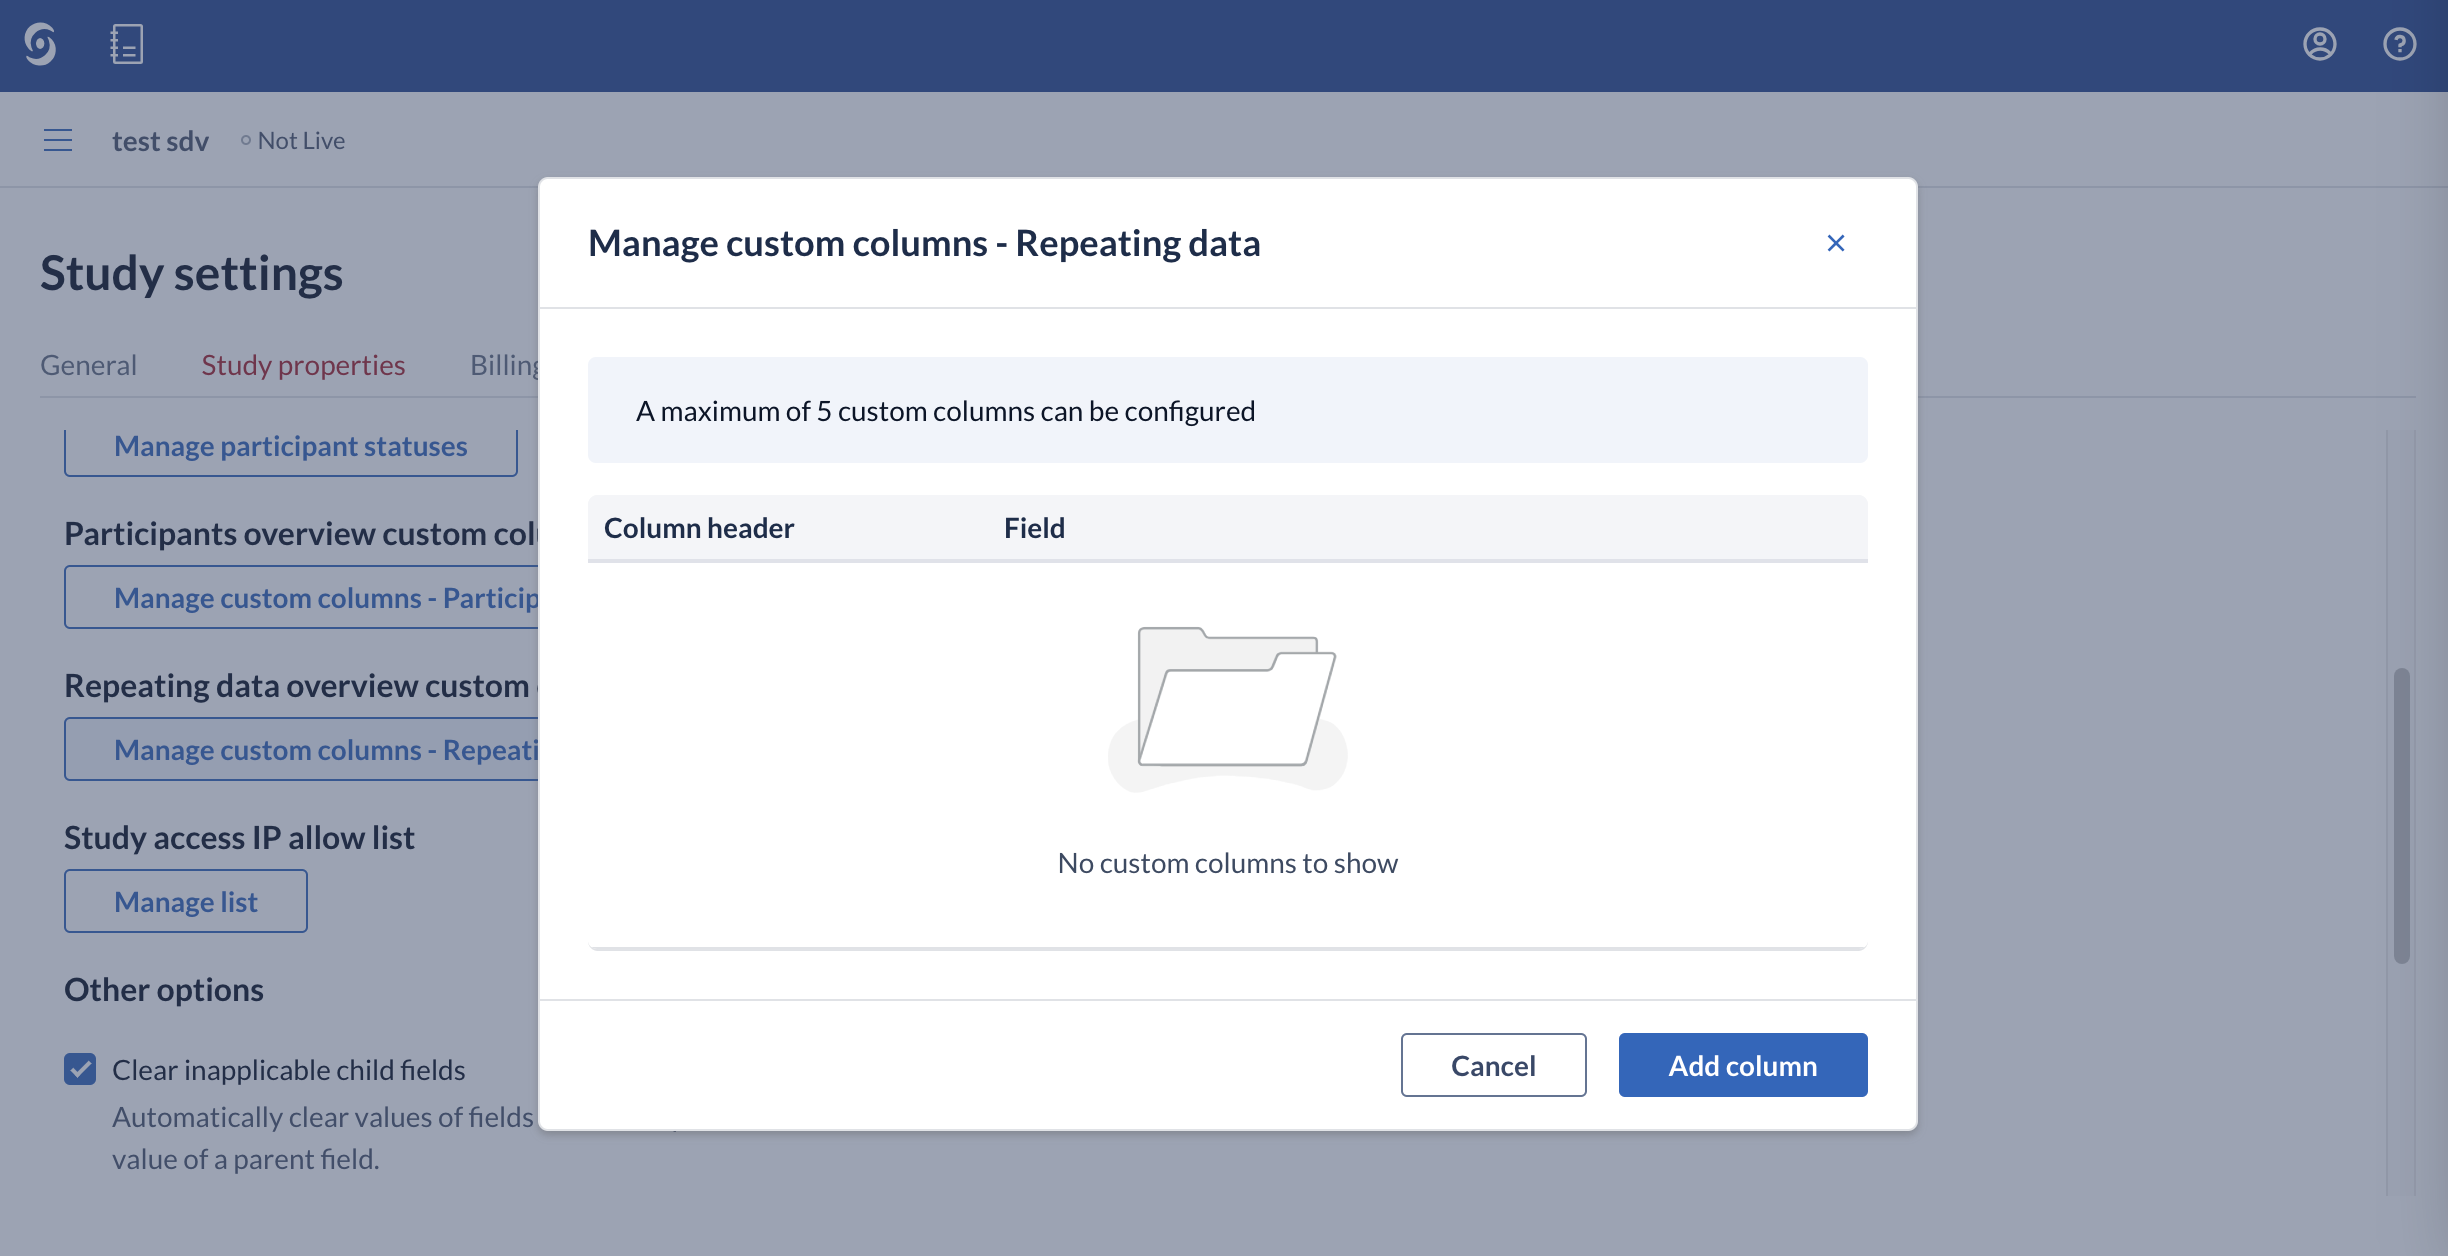
- Repeating overview custom columns: allows to manage custom columns in the Repeating data overview.
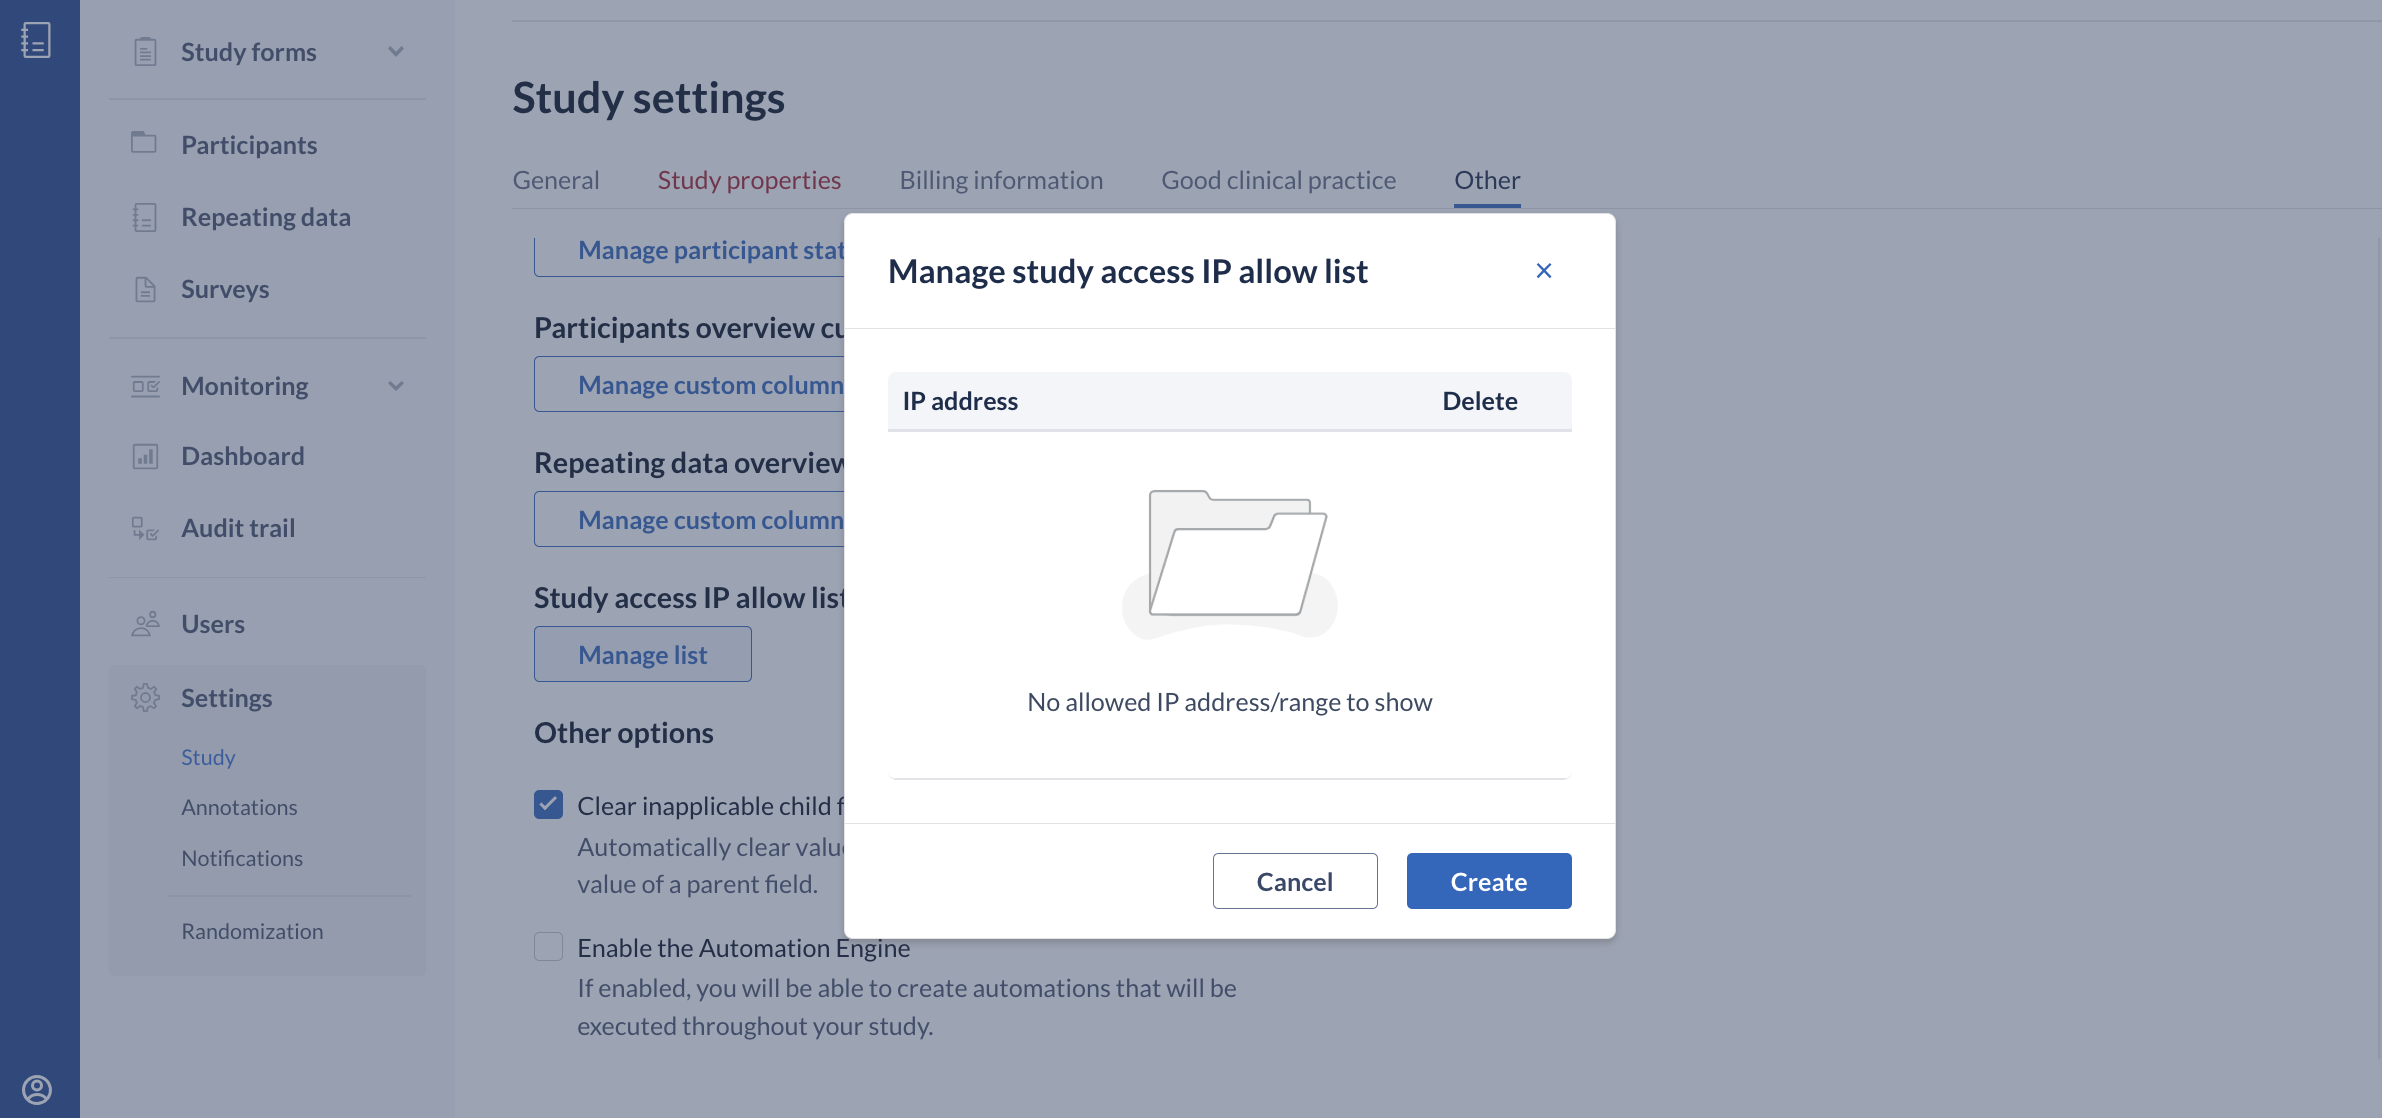
- Study access IP allow list: Whitelist a range of IP addresses. The IP addresses should be in the CIDR format. When this feature is enabled, the study is only accessible from the IP addresses on the list.
- Clear inapplicable child fields: When enabled, this setting clears the inapplicable child fields when a parent field is changed. For example: when changing the gender from female to male, all pregnancy fields are cleared, because these were made dependent on the female gender. The system will always ask for confirmation before existing data values are cleared:
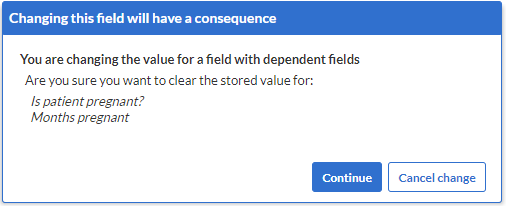
The "Clear inapplicable child fields" setting applies only to study forms and reports, not surveys. In surveys, child fields that no longer apply are always cleared automatically.
If you change this setting after data collection has begun, it won't retroactively clear inapplicable fields. Instead, newly dependent child fields will be hidden by default. Any hidden data collected earlier will still appear in data exports (e.g., CSV, XLS).
The system does not clear pre-collected data unless the parent field is explicitly updated, which triggers the confirmation dialog
- Enable the Automation Engine: When set to yes this setting enables the Automation Engine functionality.
- Enforce 2FA: Two factor authentication can now be enforced on the study level - when set to 'Yes', users in this study must use two factor authentication for their Castor account to be able to access the study.
- Remove signature when raising queries: Automatically removes pre-existing signature. In order to re-apply, all queries must be closed.
- Enable signing of locked forms: If enabled, signing of locked forms becomes possible. Please note that if an entire participant is locked, it won't be possible to sign individual forms.
- Only show participants with exact match when searching: this setting will make participants invisible in the participants tab. Retrieving a participant will only be possible when the exact participant ID is entered in the search box.
- Display repeated measure instances in visit navigator: allow to show repeating measure instances for each individual participant in the data entry view.